What is an INTUNEWIN file?
An .intunewin file is effectively a zip file containing multiple files required to perform a Software Installation, that you can upload to Intune for deployment.
Why use INTUNEWIN?
There may be a requirement to publish Win32 Application with Microsoft Intune. Whilst it is possible to deploy files such as .msi as “Line of Business”, this is not recommended, and more so, there’s a high probability that you will need to include supporting files alongside your installer. These files could be .mst transformation files, or .ico icon files, or even license files, for example. These support files cannot be bundled when using “Line of Business” method. As such, it is easier/better practice, to bundle all content into a single wrapped file, almost like a .zip, that is the INTUNEWIN file. To that point, I only propose Win32 Applications when publishing applications (…unless available in the Store).
Also, when deploying an OS via Intune, for instance, using Autopilot, Microsoft strongly recommend AGAINST using a mixture of deployment methods. Because of the two reasons above, we will be standardising on the .INTUNEWIN file deployment method, regardless of whether or not the Software is a standalone .msi (for example).
How to create INTUNEWIN?
Download & Install the Content tool
Download the Win32 Content Prep Tool from GitHub.
Extract the contents to a location that you will remember/can access, on your computer.
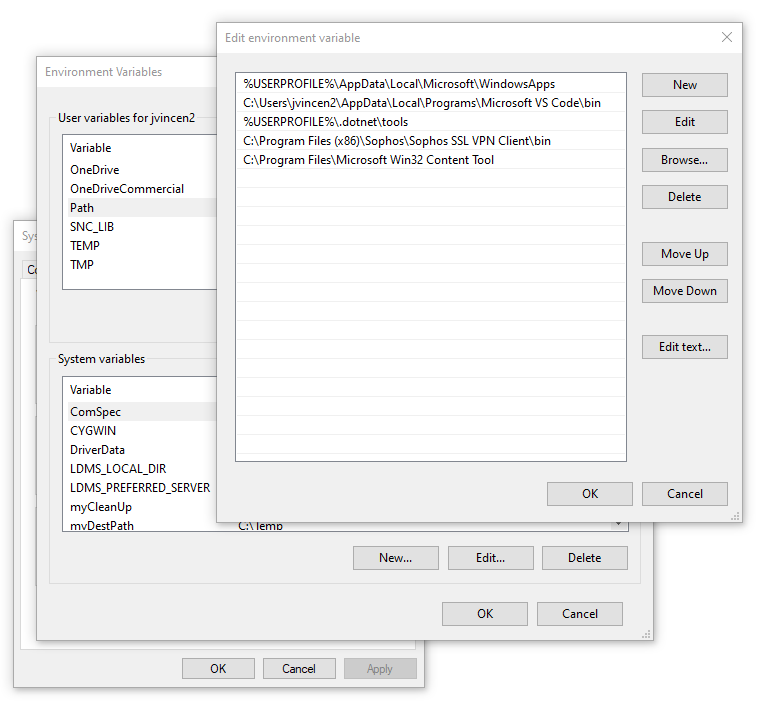
- If you so desire, and it is recommended, add the folder where you extracted the content to, to your PATH variables. This will allow you to run IntuneWinAppUtil.exe from the command line, regardless of the cwd you’re in.
As an example, I have the tool extracted to C:\Program Files\Microsoft Win32 Content Tool and my PATH variable looks like this.
Preparation
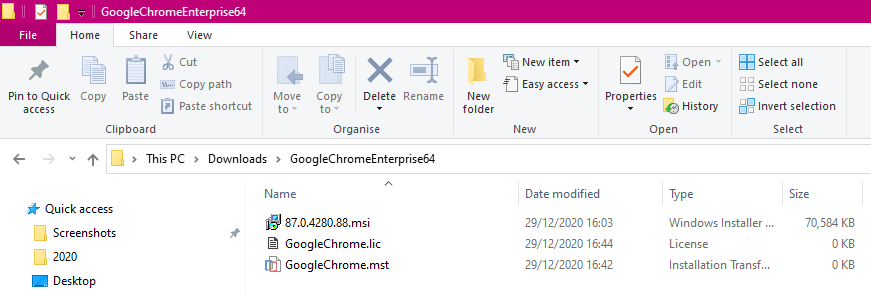
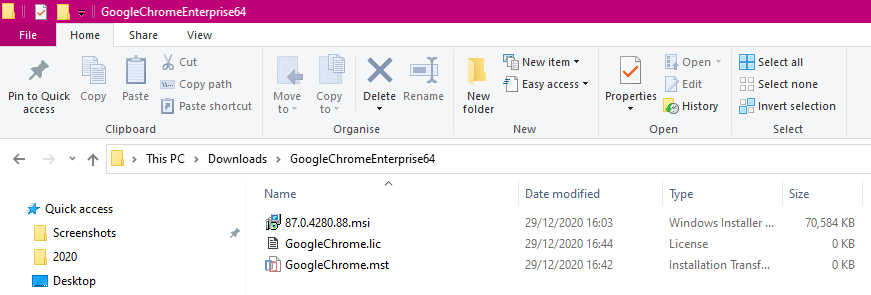
Prior to beginning any packaging/wrapping, it is recommended that you put ALL the files that you wish to wrap into a deployment package, into a single folder, as shown below.
Creating the INTUNEWIN
Assuming you updated your PATH environment, from a newly launched command prompt, you can now run IntuneWinAppUtil.exe and you will be asked a series of questions with regards to wrapping the software into a .INTUNEWIN file. Follow the steps.
If you did not update your PATH, simply open a command prompt, browse to the folder in which IntuneWinAppUtil.exe lives, and then execute it.
You will be asked to supply:
- The source folder (containing all the files you wish to wrap into the INTUNEWIN)
- The setup file (this is the “name of the.msi” or “name of the .exe”)
- The output folder (this is where you wish to save the .INTUNEWIN)
- If the output folder does not exist, you will be asked if you want to create it.
- A catalog folder (this is only really necessary for Windows 10 S devices, which we are not likely to come across)
After answering the questions, the .INTUNEWIN creation will begin.
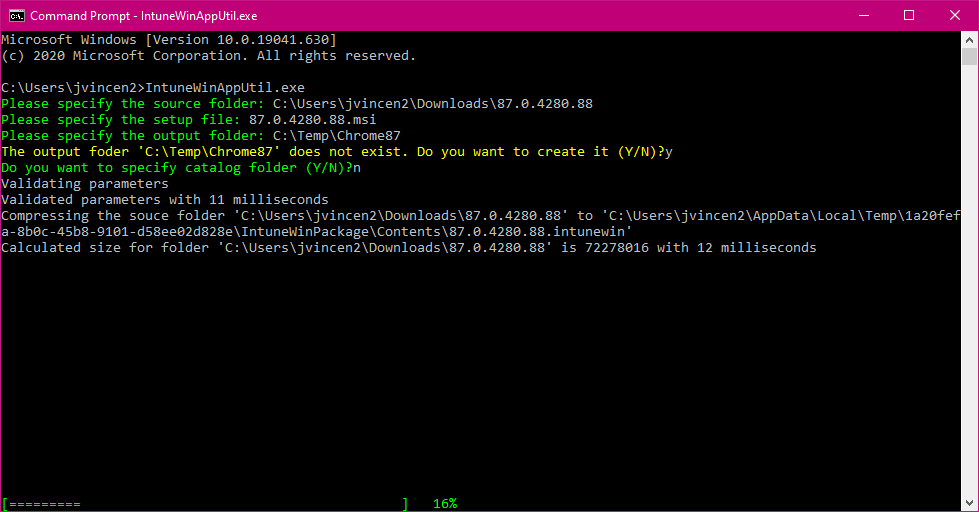
… how long this process takes, will depend on the size of the Content folder, and everything inside it. After some time, you should receive a successful completion notice.
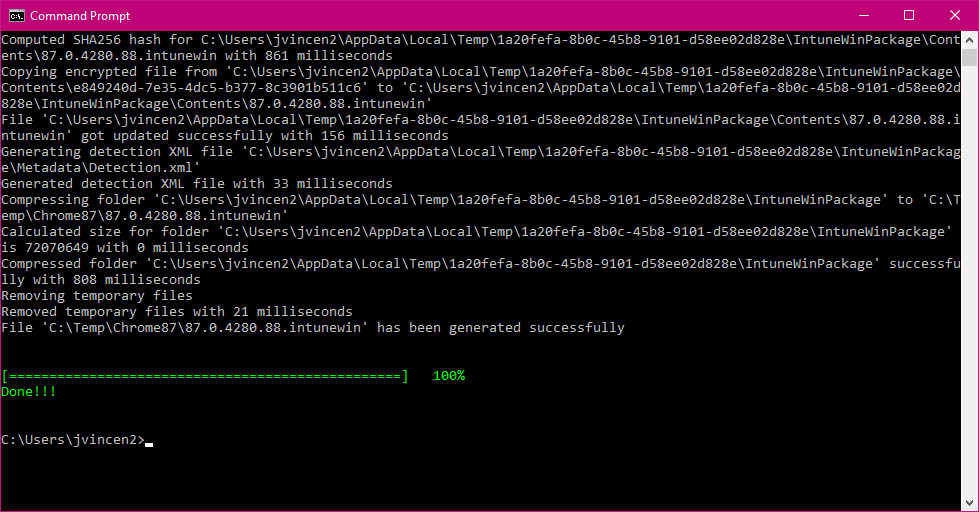
…and with this, an .INTUNEWIN file in your specified output folder.
From here, you can go ahead and perform the uploading of the .INTUNEWIN in to Intune, and deploy if required.
Recommendations
- Download and install the Content Prep Tool, and add the folder in which you have the tool stored, to your PATH variables.
- When wrapping Software in to INTUNEWIN, create a folder, and ONLY include the files that you wish to include in the INTUNEWIN.
- Create a common output directory, for ease, as an example, this could be C:\Temp\INTUNEWIN\

Leave a Reply