With the recent announcement of Windows LAPS support for Azure AD & Intune, you might need or want to know how to enable this functionality. Follow on, for how.
The first thing you will need to do, is login to your Azure AD administration portal and enable support for Windows LAPS on your devices. In addition to this, you’ll also need to think about the local administrator account, more specifically, what you want to call it. By default Windows LAPS will attempt to enable the built-in local administrator account (which is disabled out of the box). Whilst we’re going to need a local admin account to be present, I would strongly recommend that as a minimum, this account is renamed using an additional Intune Configuration Profile (shown herein). [A better approach may be to create an entirely new account altogether so that the SID of this new user differs from the built-in local admin account].
From the Azure AD portal landing page, click Devices on the left hand side.
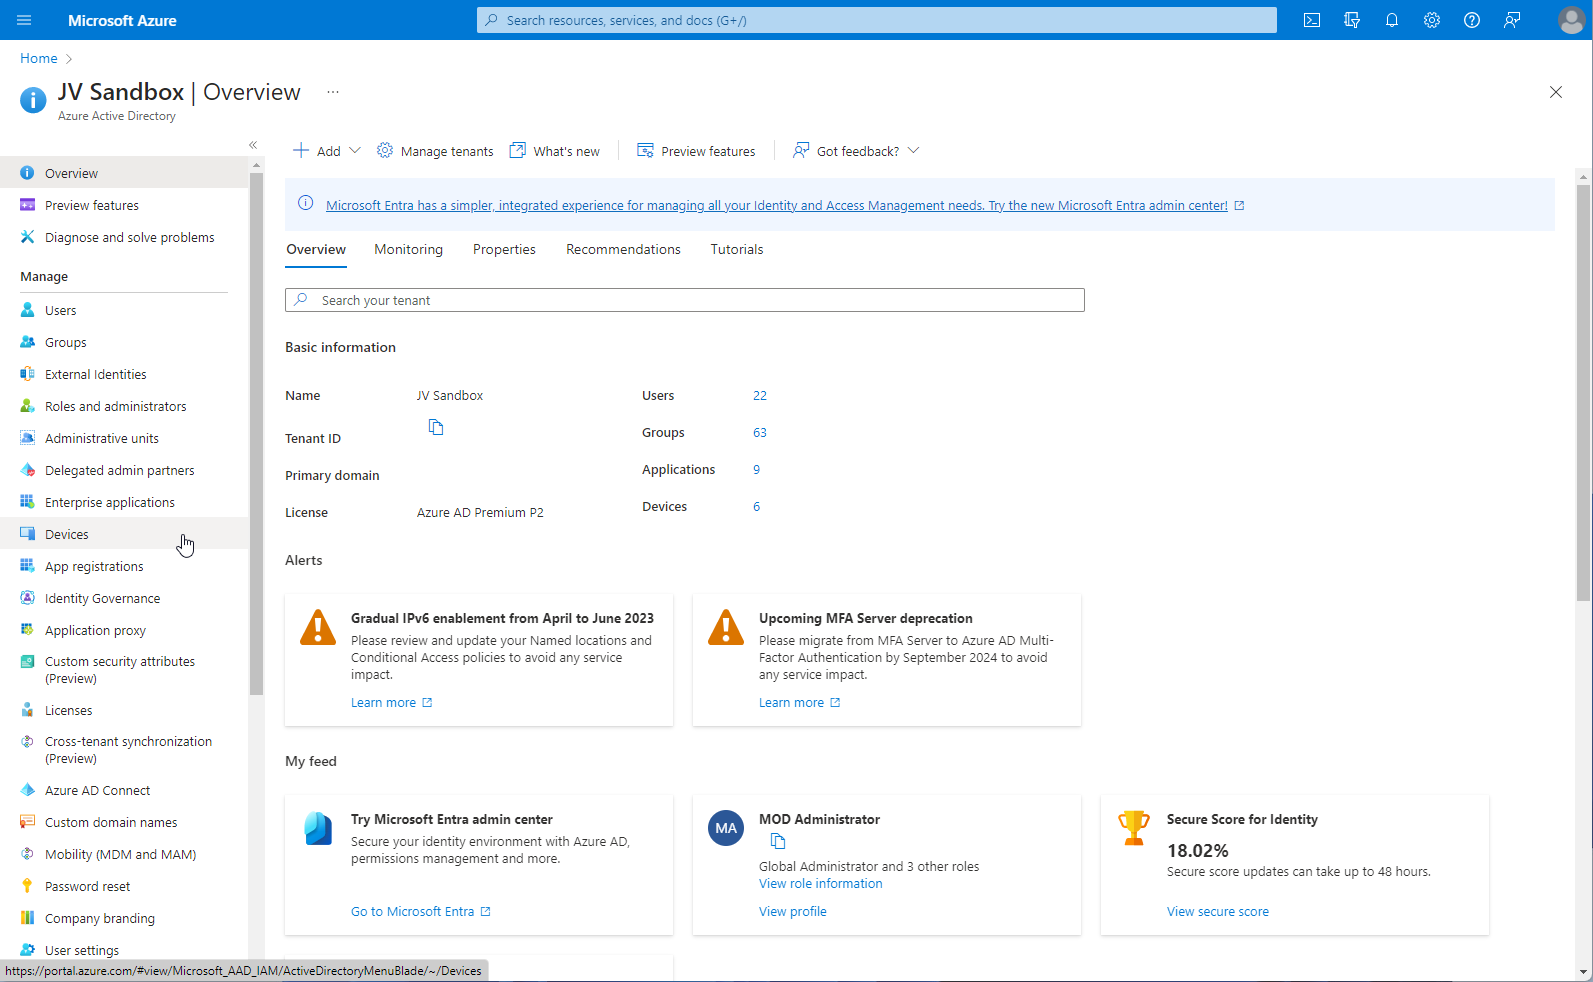
Click Device Settings

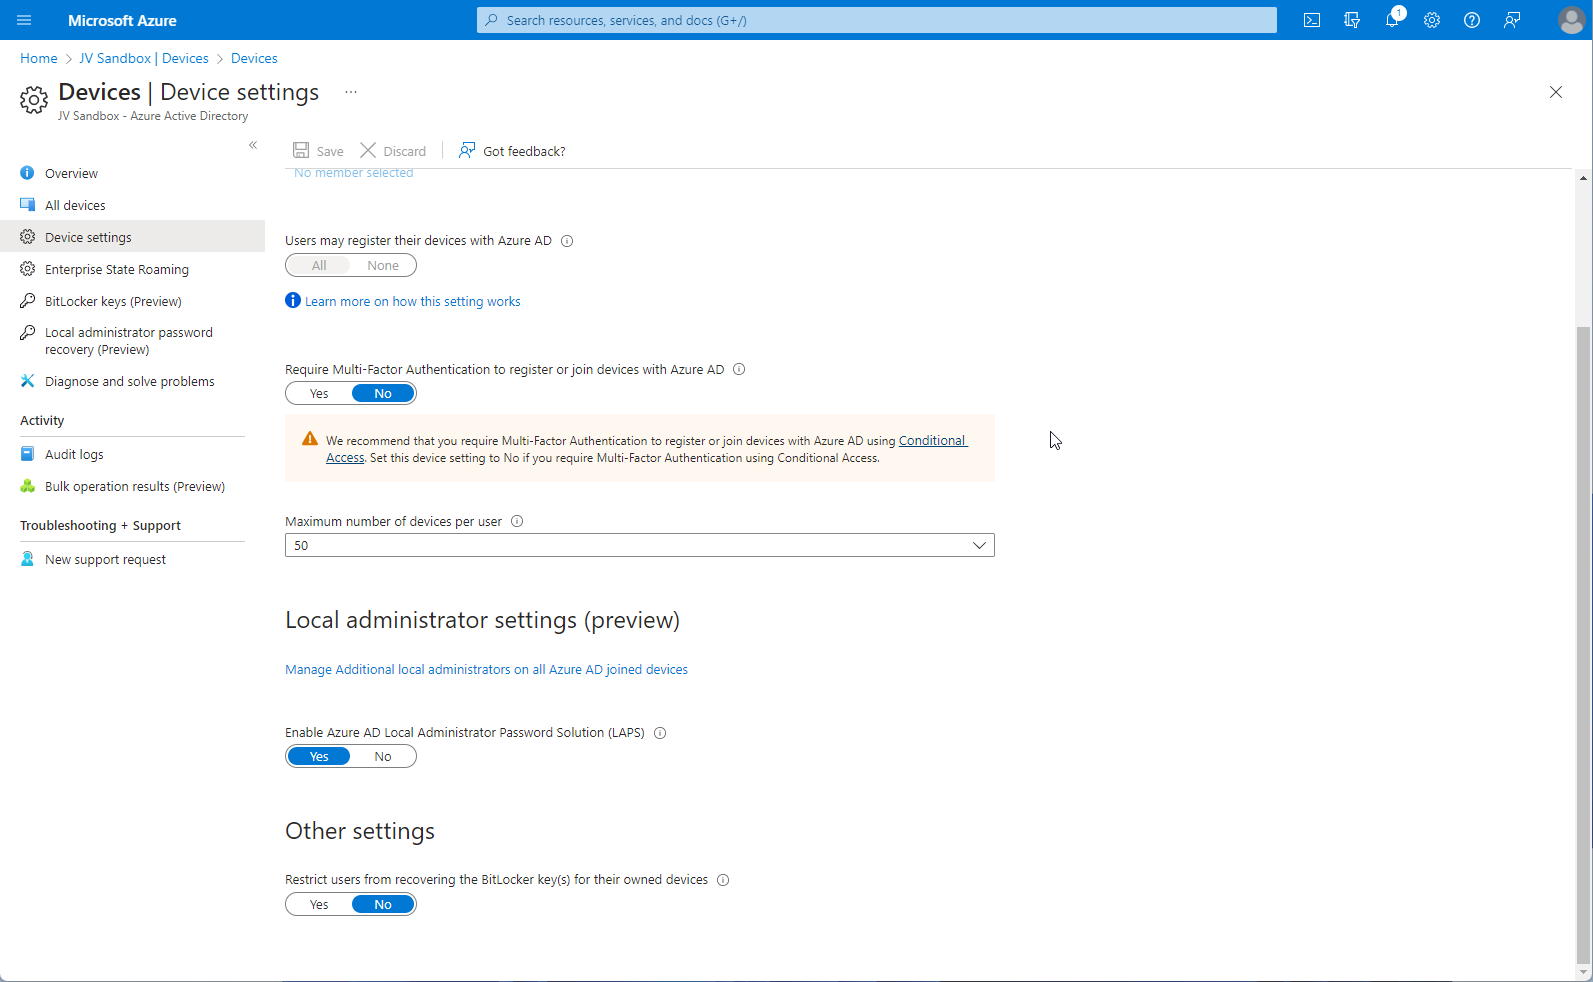
And then scroll down to “Enable Azure AD Local Administrator Password Solution (LAPS)“. Set this to Yes.
Now switch over to Intune, and go to your Windows Configuration Profiles section. (Devices > Windows > Configuration Profiles, depending on your Intune view).
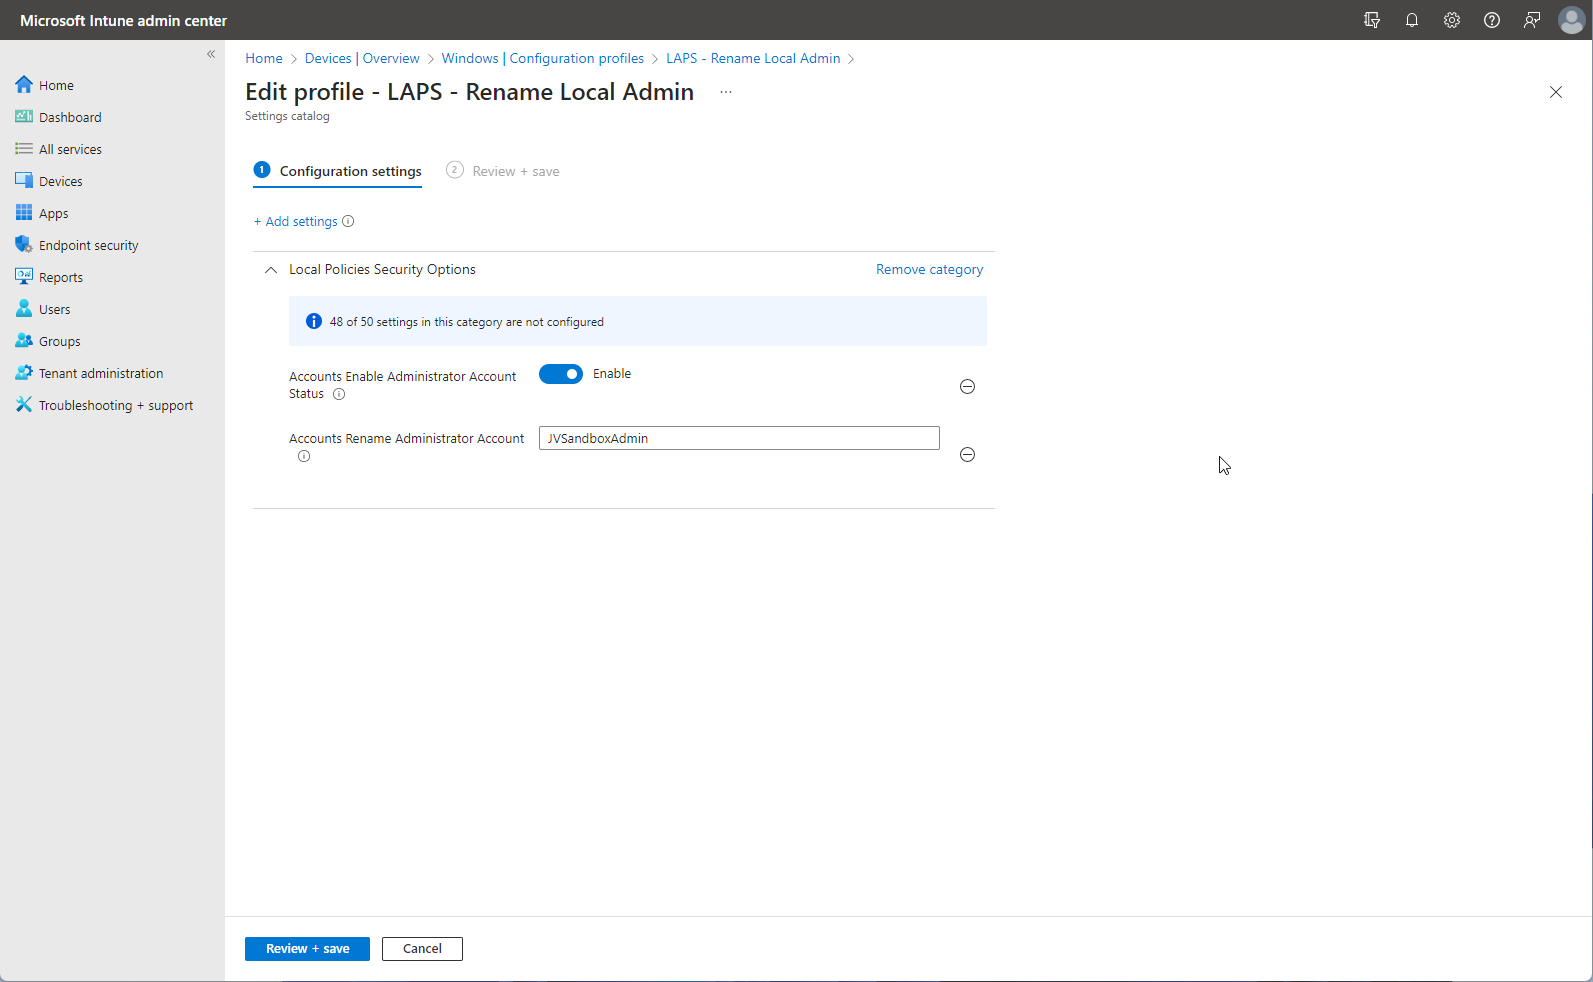
Click on Create Profile, select Windows 10 and Later and then Settings Catalog. Within the Settings Catalog, scroll down to or search for Local Policies Security Options. Tick the following settings for inclusion:
- Accounts Enable Administrator Account Status (Enable)
- Accounts Rename Administrator Account (As required)
And then define the settings as required (Shown below). Make a note of what you rename the local admin account to, as this will be required for LAPS configuration.
Save and assign this newly created profile to All Devices. Once this policy is applied, the built in admin account will be enabled, and renamed to whatever you defined. Next we need to configure LAPS.
From the Intune menu, click on Endpoint Security, and then Account Protection.
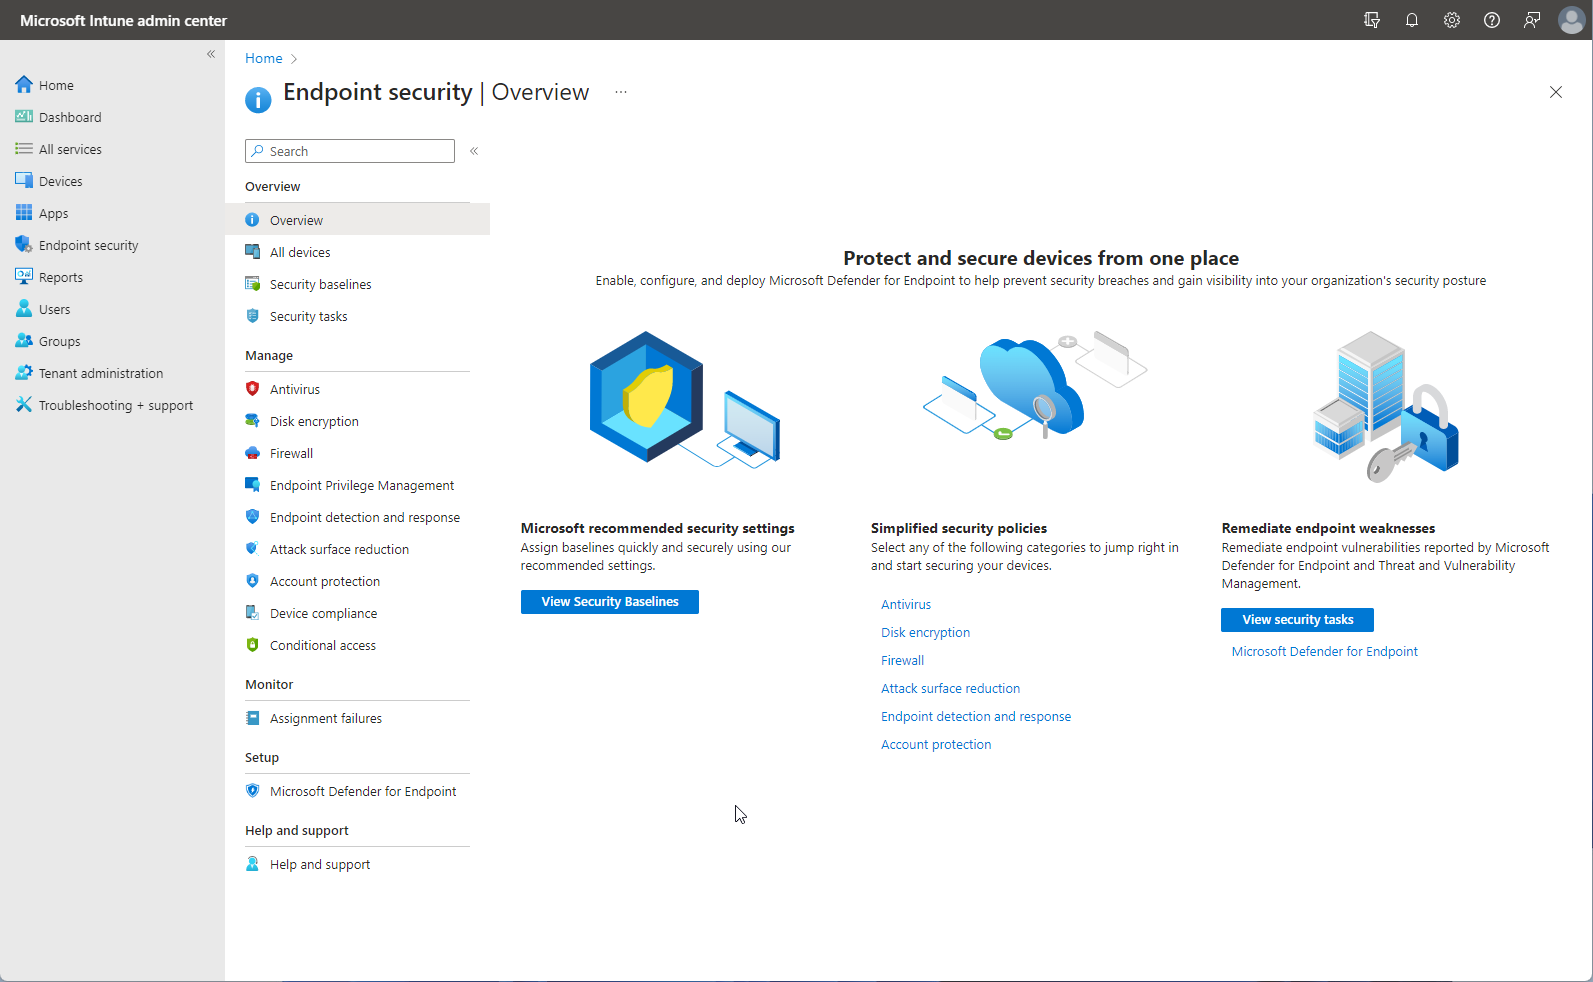
Click on Create Policy that sits in the top menu bar, somewhat centrally. Choose Windows 10 and Later, and select the Local admin password solution (Windows LAPS) profile.

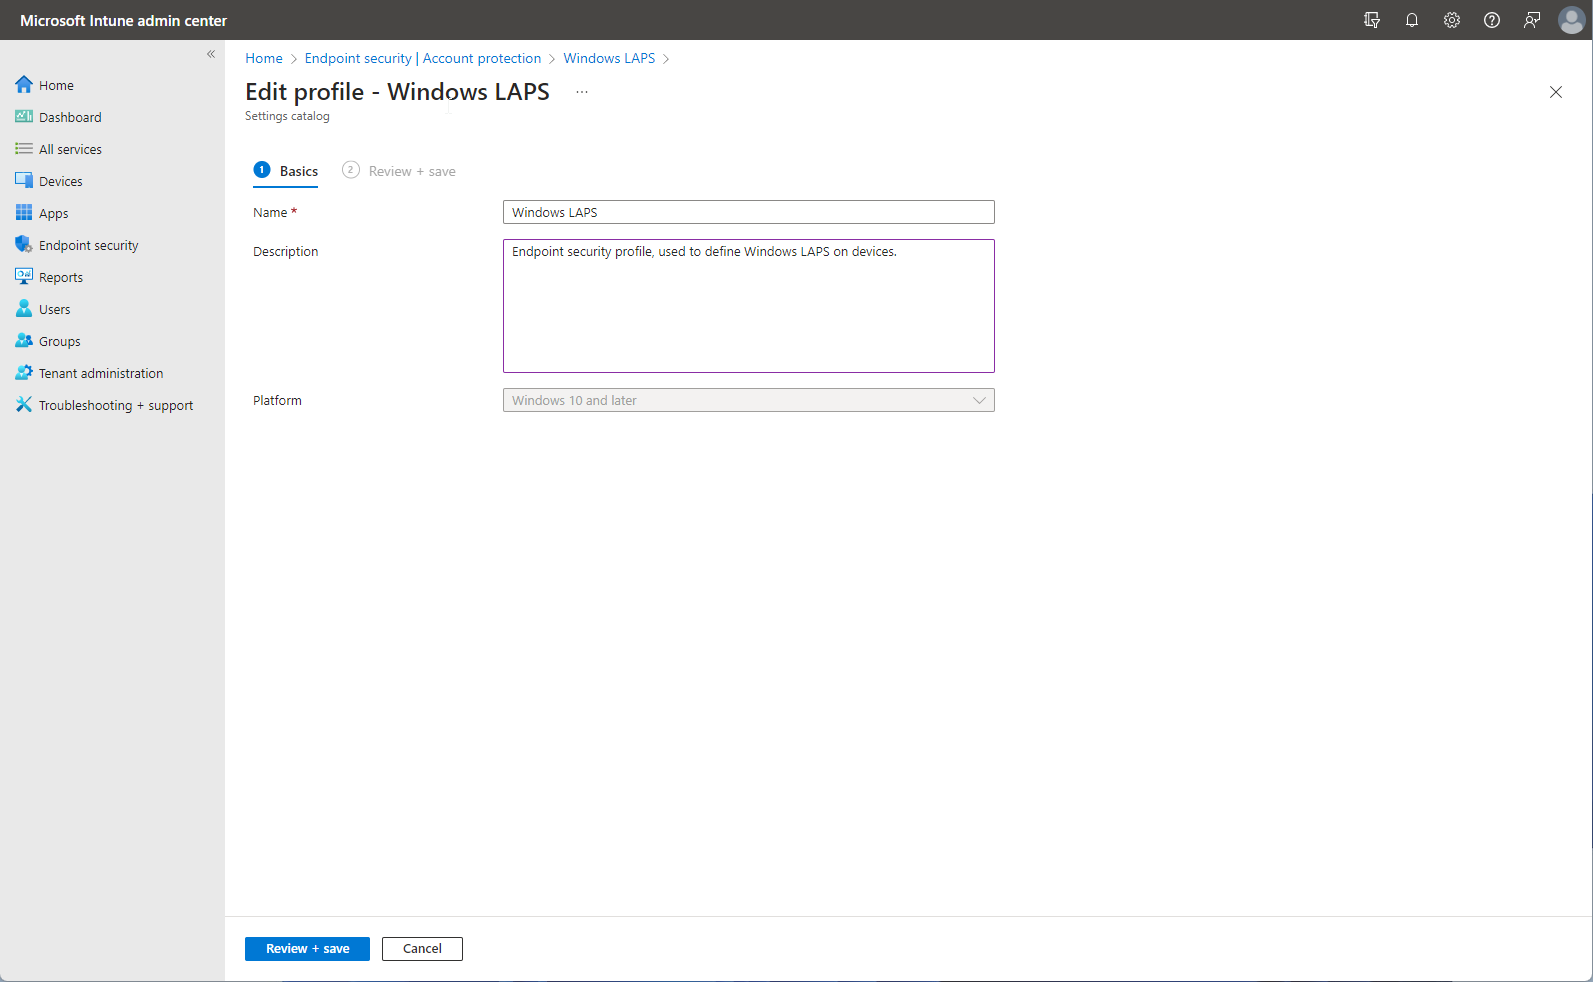
Give the profile a name and a description that fits your environment.
The define the configuration settings that you require. This is where you need to recall the name of the newly renamed local admin account.
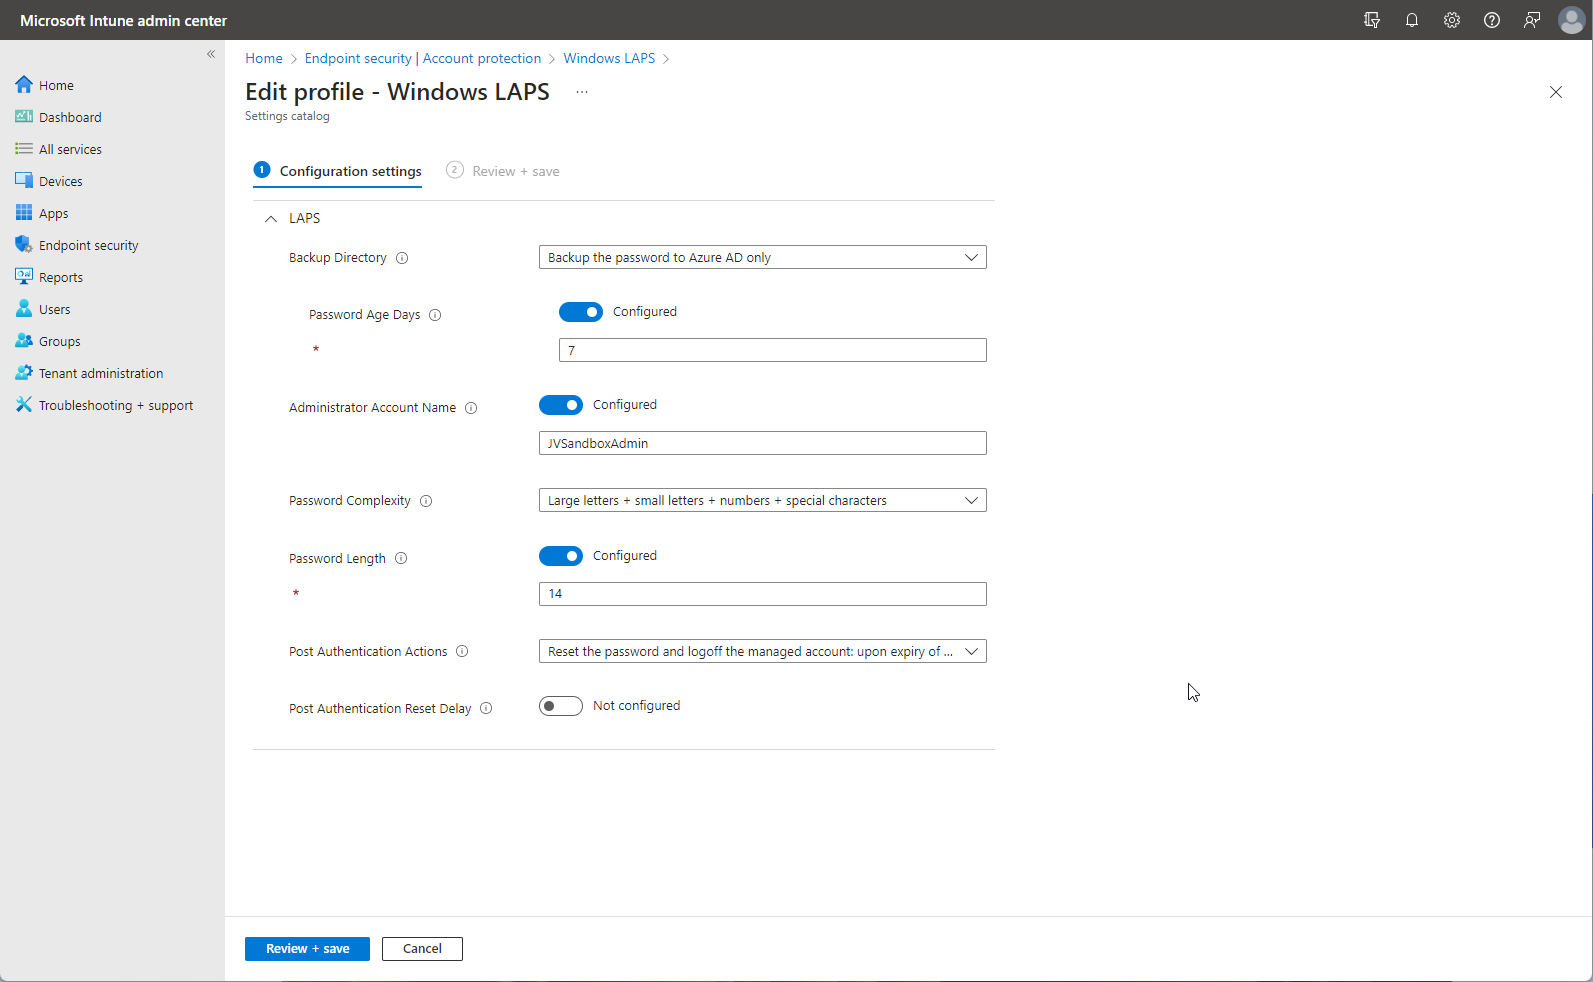
An explanation of each setting is below.
| Backup Directory | Use this setting to configure which directory the local admin account password is backed up to. The allowable settings are: 0=Disabled (password will not be backed up) 1=Backup the password to Azure AD only 2=Backup the password to Active Directory only If not specified, this setting will default to 0. |
| Password Age (Days) | Use this policy to configure the maximum password age of the managed local administrator account. If not specified, this setting will default to 30 days This setting has a minimum allowed value of 1 day when backing the password to on-premises Active Directory, and 7 days when backing the password to Azure AD. This setting has a maximum allowed value of 365 days. |
| Administrator Account Name | Use this setting to configure the name of the managed local administrator account. If not specified, the default built-in local administrator account will be located by well-known SID (even if renamed). If specified, the specified account’s password will be managed. Note: if a custom managed local administrator account name is specified in this setting, that account must be created via other means. Specifying a name in this setting will not cause the account to be created. |
| Password Complexity | Use this setting to configure password complexity of the managed local administrator account. The allowable settings are: 1=Large letters 2=Large letters + small letters 3=Large letters + small letters + numbers 4=Large letters + small letters + numbers + special characters If not specified, this setting will default to 4. |
| Password Length | Use this setting to configure the length of the password of the managed local administrator account. If not specified, this setting will default to 14 characters. This setting has a minimum allowed value of 8 characters. This setting has a maximum allowed value of 64 characters. |
| Post Authentication Actions | Use this setting to specify the actions to take upon expiration of the configured grace period. If not specified, this setting will default to 3 (Reset the password and logoff the managed account). |
| Post Authentication Reset Delay | Use this setting to specify the amount of time (in hours) to wait after an authentication before executing the specified post-authentication actions. If not specified, this setting will default to 24 hours. This setting has a minimum allowed value of 0 hours (this disables all post-authentication actions). This setting has a maximum allowed value of 24 hours. |
Once this policy is configured, save this and assign it to All Devices.
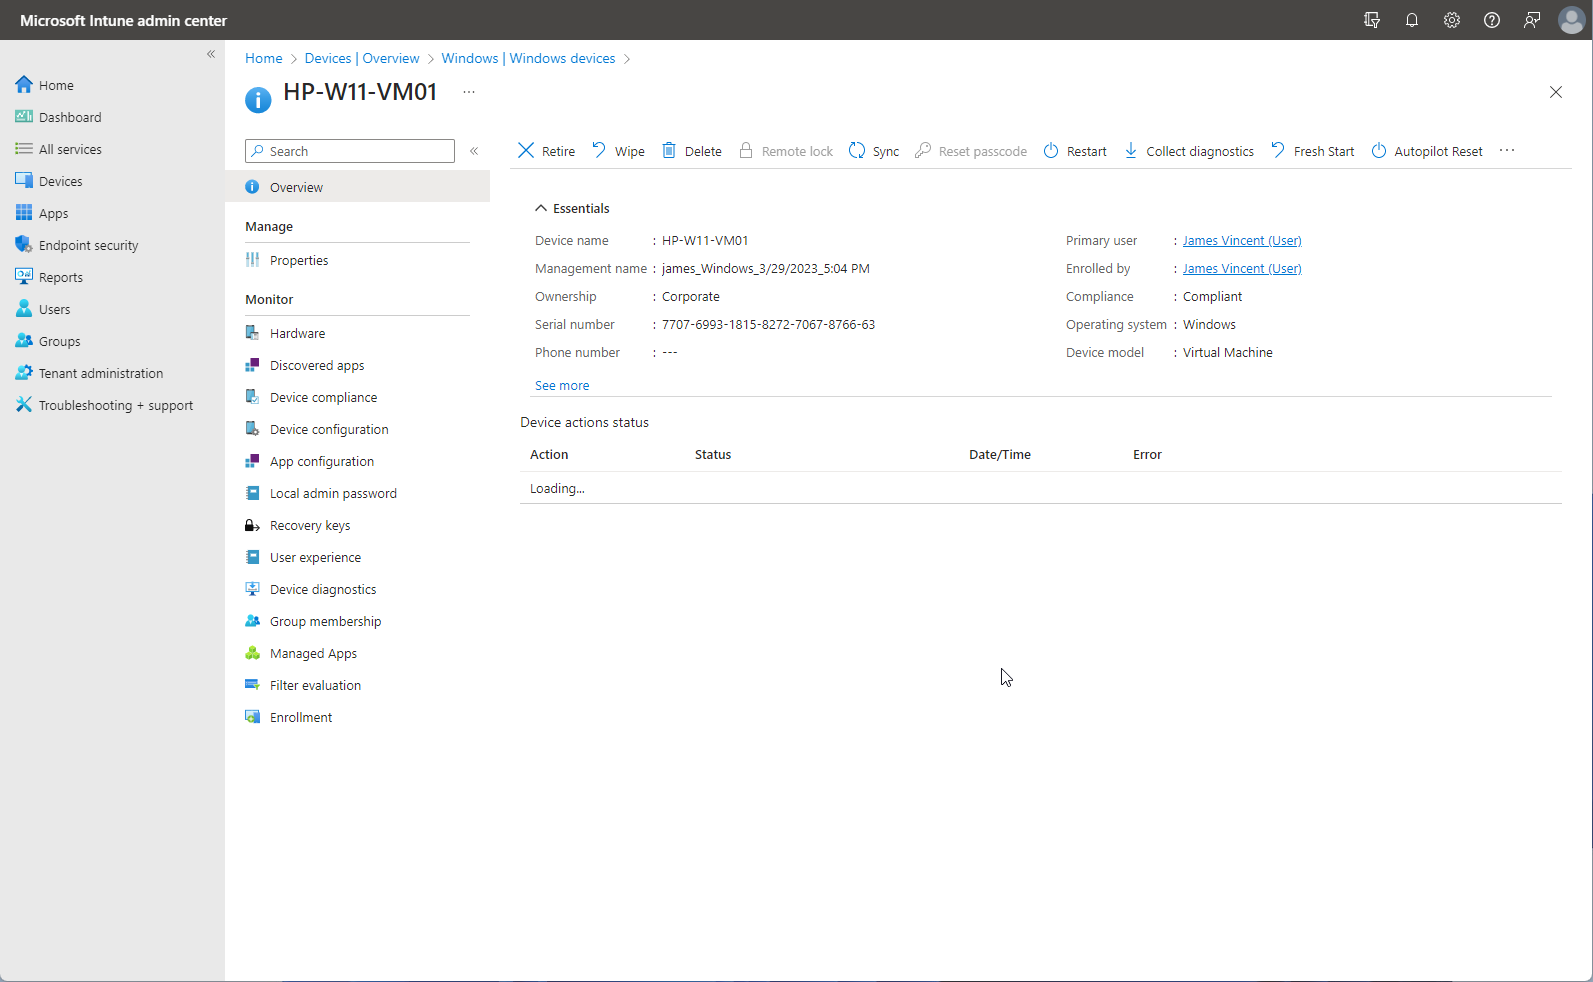
Once sufficient “Microsoft Minutes” have passed, the policies should apply, and then in due course, the Local Admin Password should appear within the “Local Admin Password” menu option that now exists against the device.
When you click on the Local Admin Password menu item, you’re forwarded to the LAPS pane in which you can review the currently configured local admin password.
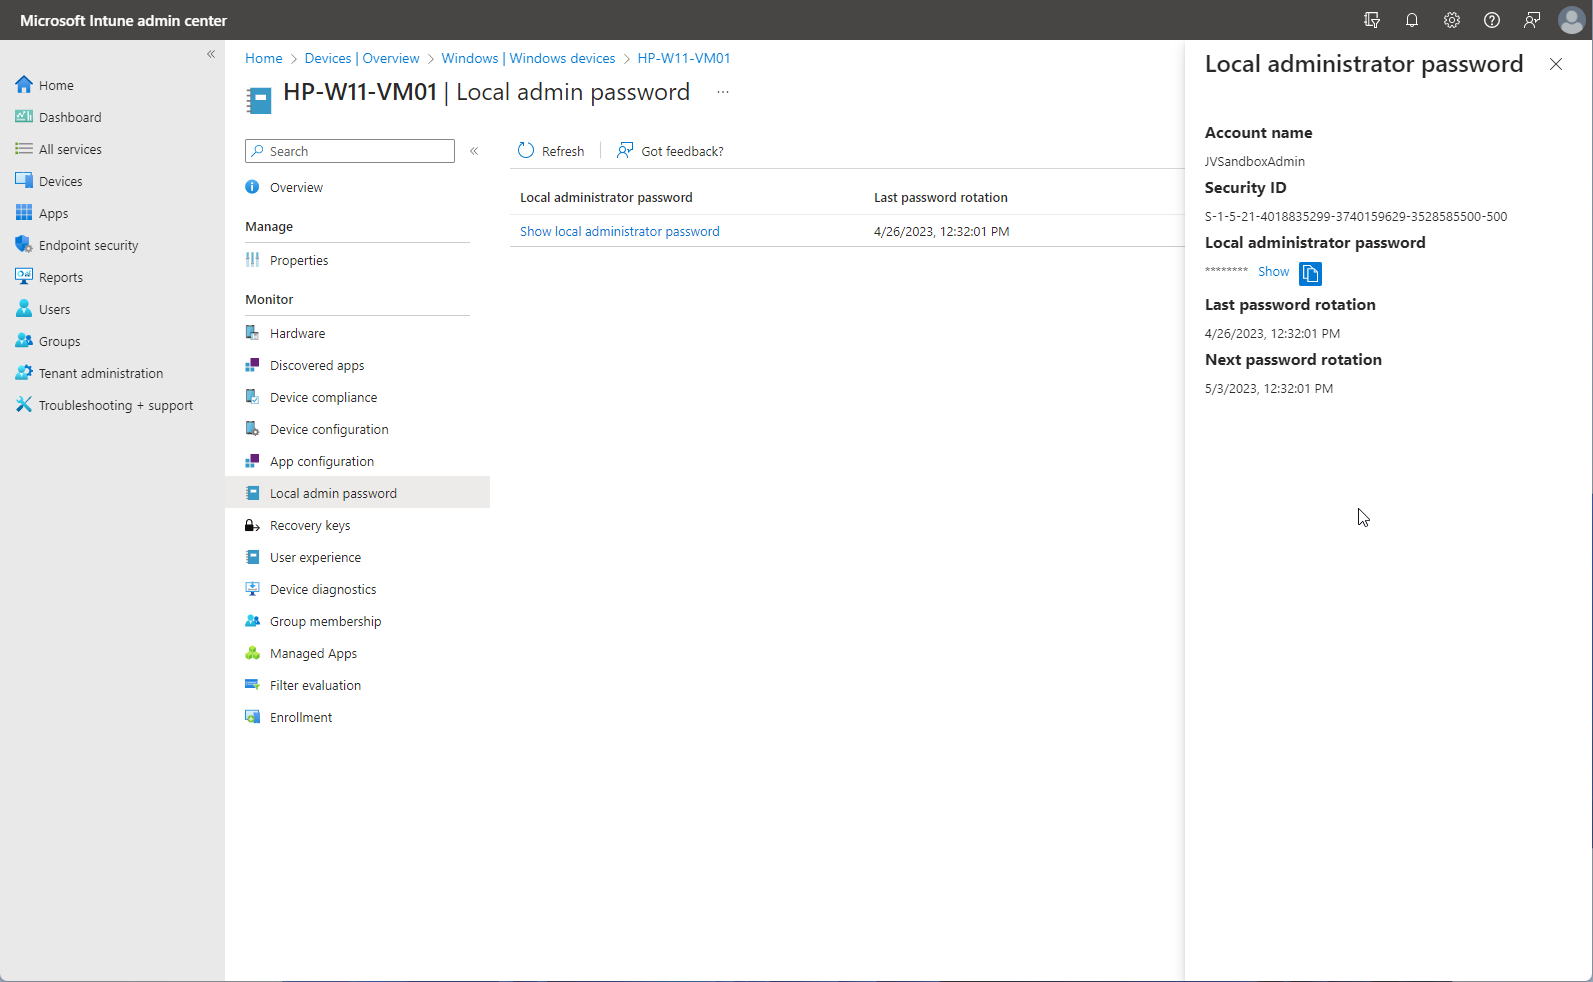
Now you have the password for the local admin account, you can simply head over/connect to the device in question and attempt to login using the account credentials. Happy days…
A few other things to note…
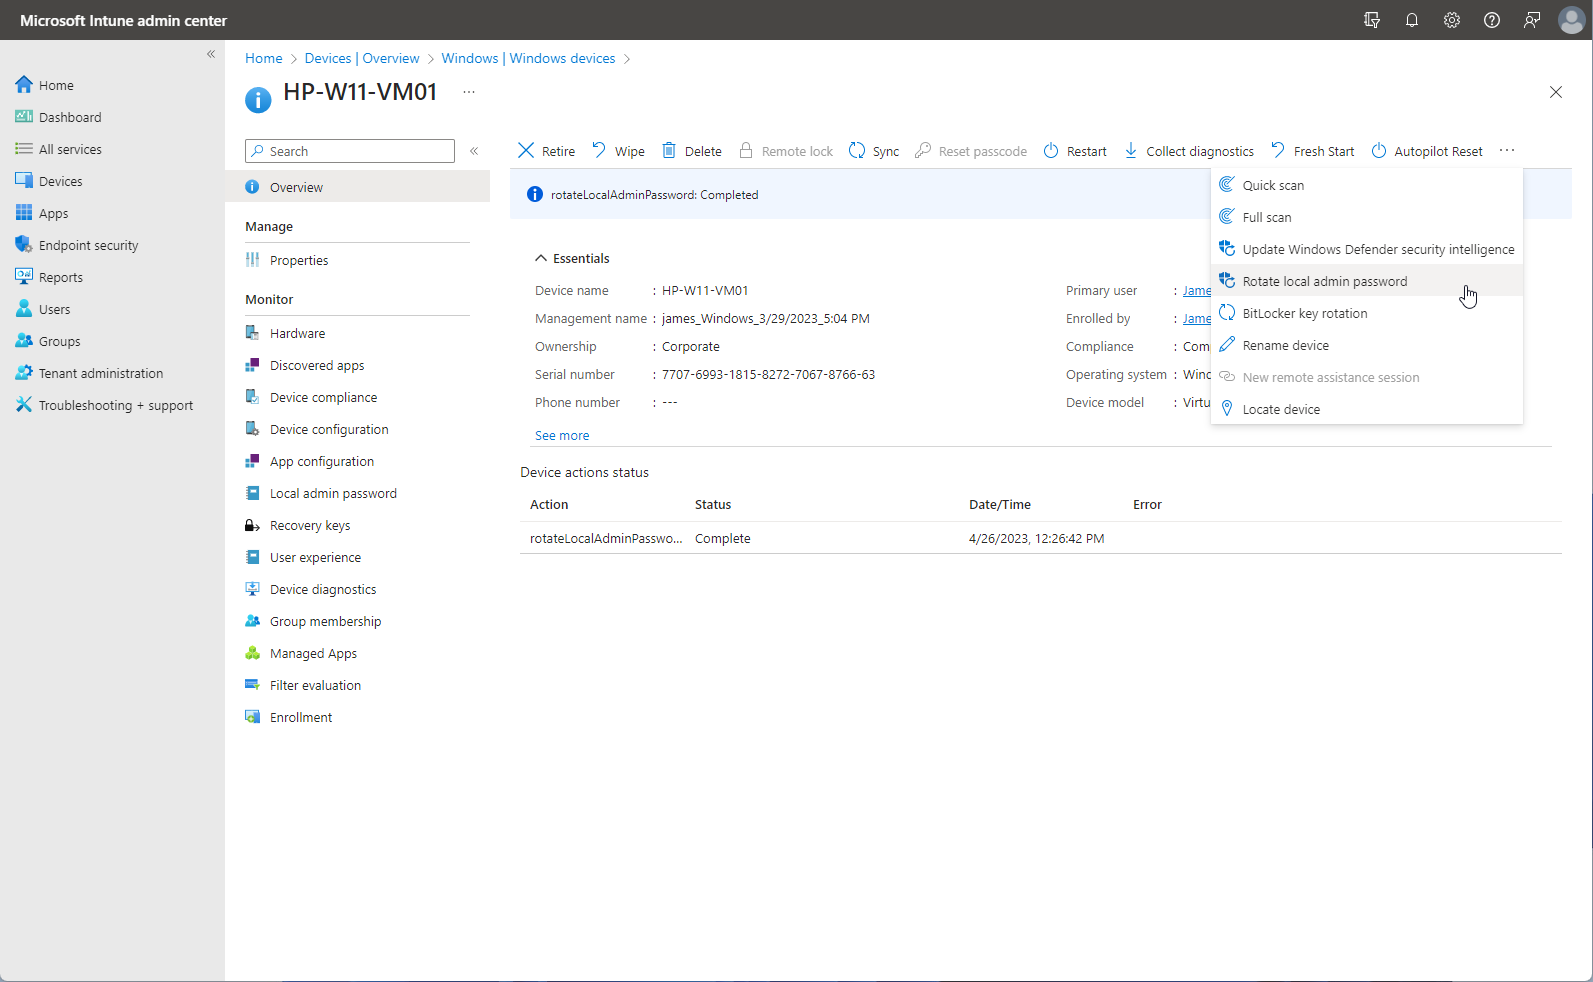
From the Device Overview page, we now have the ability to “Rotate Local Admin Password“. This is done from within the “additional options” (3 dots). Rotating the password will appear as an action in the Device overview page, and the rotation date/time will also be reflected in the Local Admin Password page.
…Audit trail
Unlike the community solution “CloudLAPS“, there doesn’t yet seem to be any audit trail or graphical reporting capabilities, at least out of the box. On the basis most folks are seeking simple, yet functional, this is probably something that you can overlook, at least short term, when you consider the ease of enabling Windows LAPS vs that of configuring CloudLAPS, which, whilst not overly difficult, requires Log Analytics workspaces to be created and App Registrations etc.. an unnecessary complication if you compare it to Windows LAPS.
Big nod to CloudLAPS though, it’s filled a massive void, for a rather long period of time. Too long, really.
Leave a Reply