You’re managing your devices via Intune, great. Now you need to add some applications to the devices that you’re managing… Where do you start?
The first/best way (at least until winget/New Store is fully operations) remains to utilise the Win32 format. But what is Win32 and how do we utilise it? In my words, a Win32 app that we prepare for Intune, ends up wrapped as a .intunewin file. Which is effectively an encrypted zip file containing multiple files required to perform a Software Installation, that you can upload to Intune for deployment. Because it is a “zip file” (container), you can store many supporting files that the application requires during installation, such as license files, or transformation files – due to this, Win32 is the preferred/best/most common way to publish Applications in to Intune…
What is Win32?
Microsoft states the following for Win32…
The Win32 API (also called the Windows API) is the original platform for native C/C++ Windows applications that require direct access to Windows and hardware. It provides a first-class development experience without depending on a managed runtime environment like .NET and WinRT (for UWP apps for Windows 10). This makes the Win32 API the platform of choice for applications that need the highest level of performance and direct access to system hardware.
Put simply, it remains the most common API used for Applications, at least in the corporate world… for now anyway. More information on the Win32 API can be found here — Get started – Win32 apps | Microsoft Learn
How do we prepare a Win32 app?
How? That’s covered in another post, over here… How to create a Win32 App or Intunewin Package.
Deploying your Win32 App …
So you’ve read the other post, and/or somehow ended up with a .intunewin file… What next? Well, we need to get it in to Intune, and ideally pushed out to users/devices. That’s hopefully where this guide comes in…
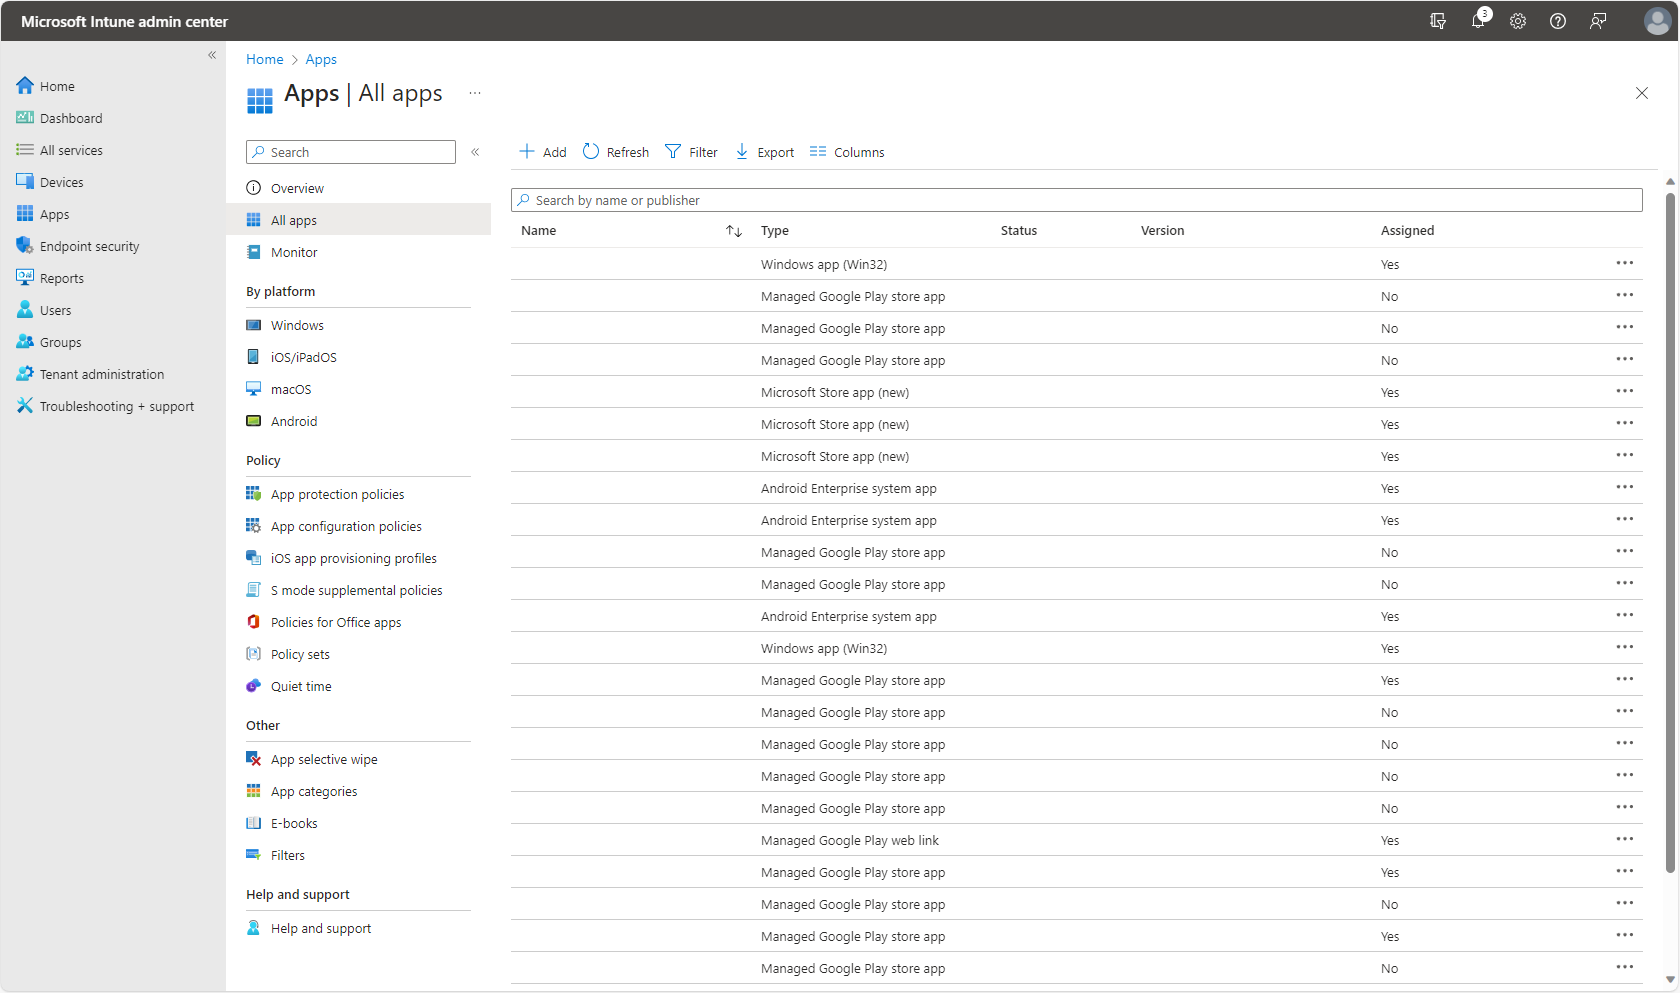
Start by logging in to Intune. Then browse to Apps > All Apps, and click + Add.
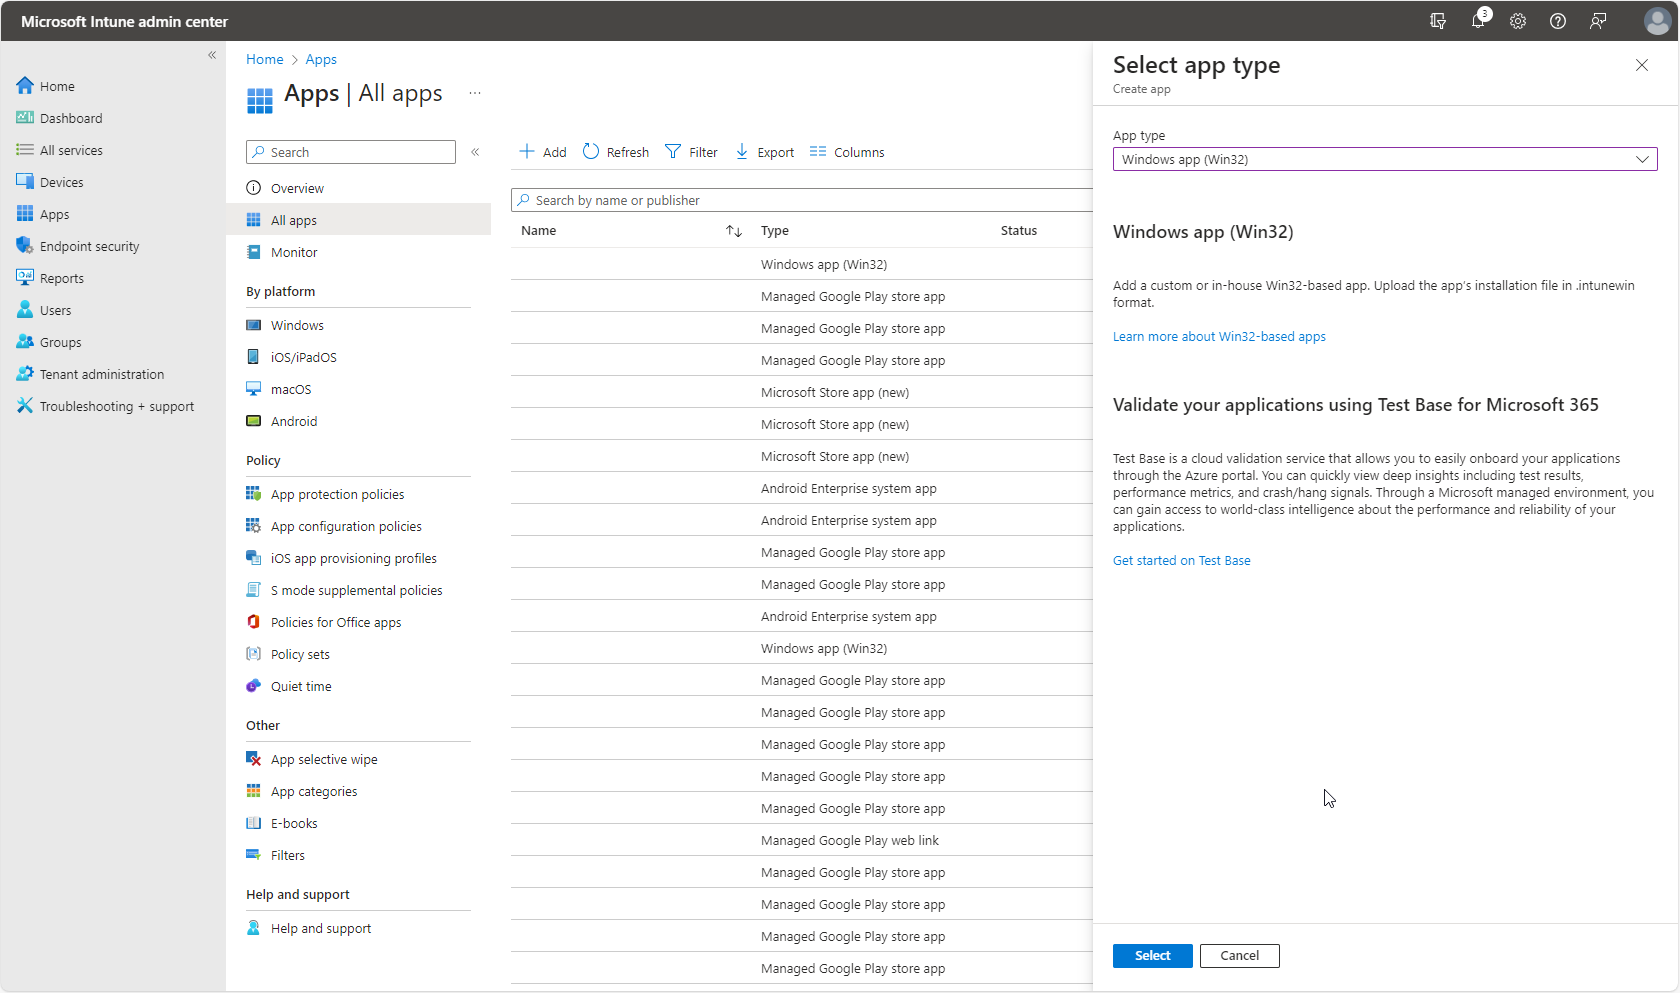
From the list of available App Types, scroll down to “Other” and within other, select Windows app (Win32).
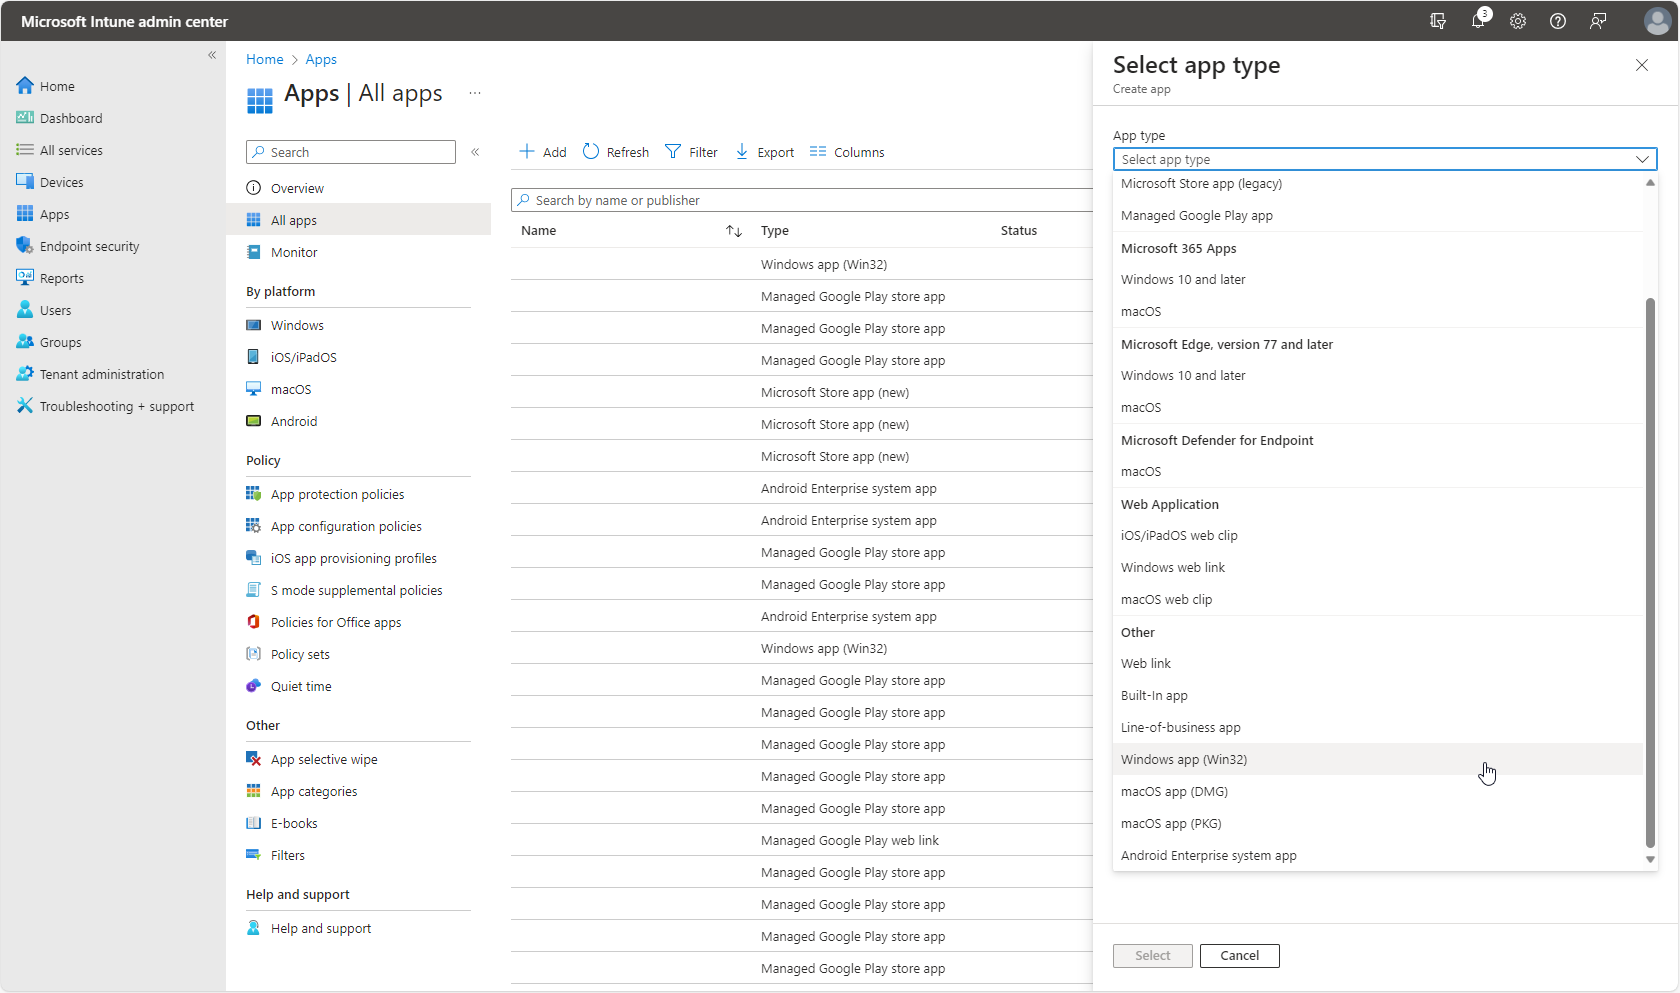
Read the useful information supplied around Win32 apps, and click Select when ready.
Browse to the .intunewin file that you have previously created, which /should/ contain all the files required to perform the Application installation, and click OK, then Next.
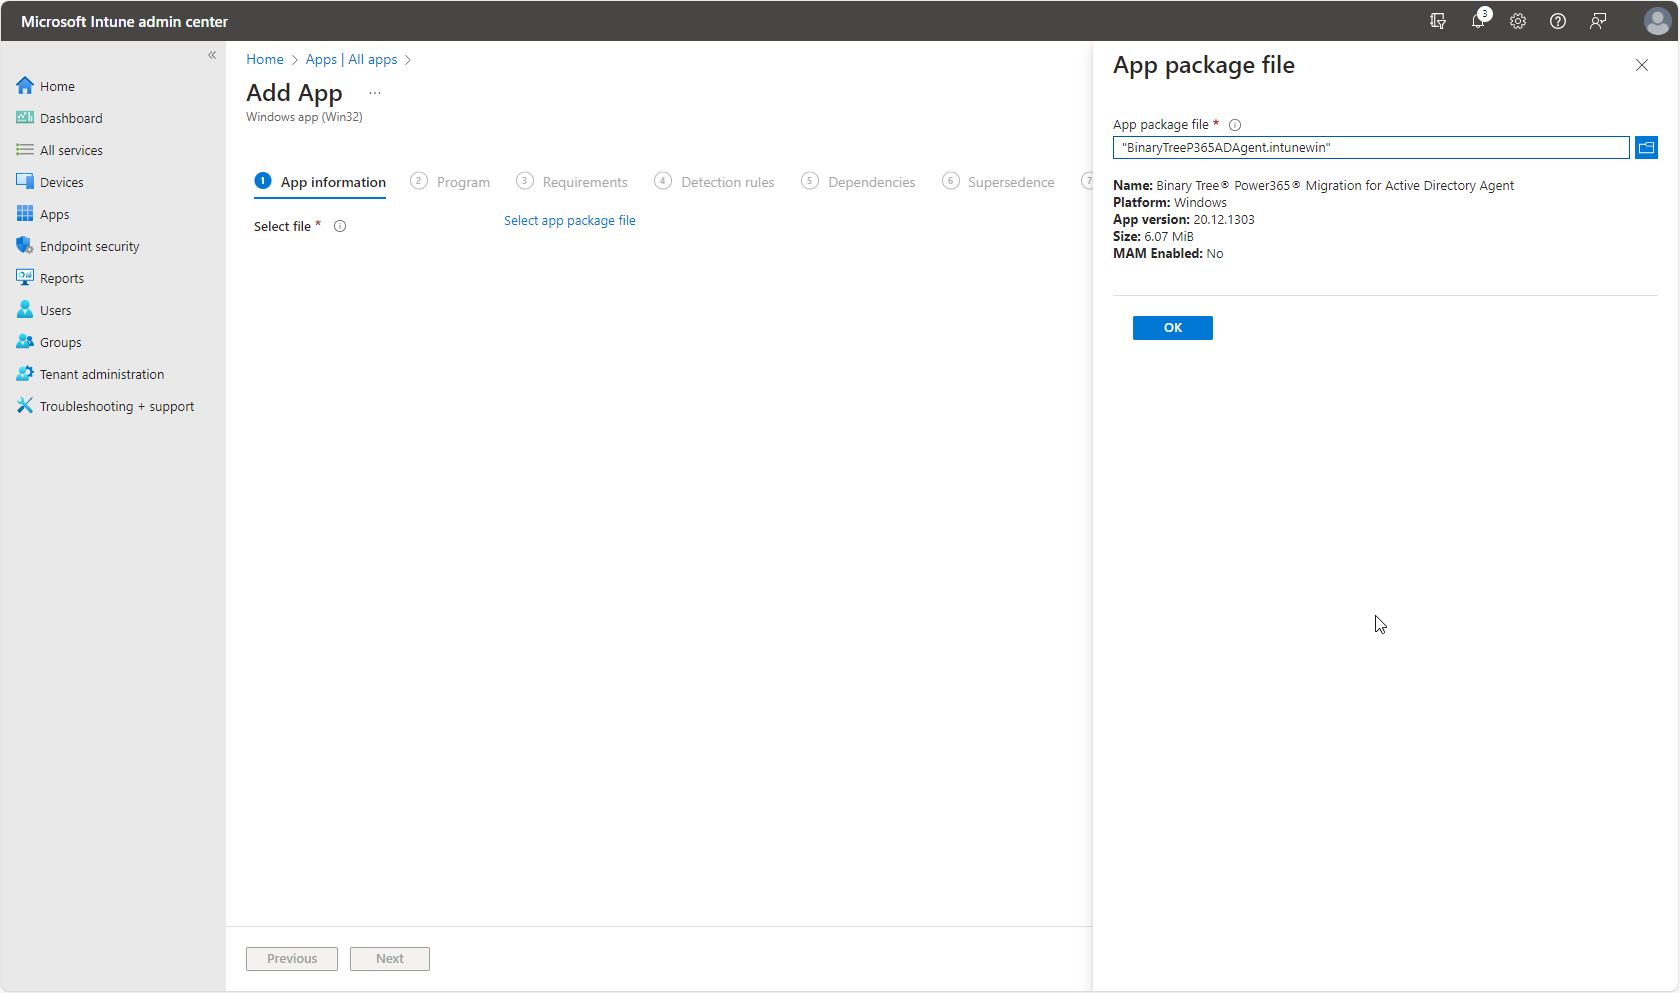
You should now be asked to supply information relating to your Application. The first section “App Information”, are the details your users will see if the Application is published to Company Portal for example. Some information might be pre-filled, and is read from the installation file that you supplied during the creation of the .intunewin. The information is not always accurate, so make it a habit to double check.
There are required fields here that might not be completed. Work your way through the form and fill in as much required information as possible. Ideally complete all the fields. The more information you supply, the better it is from an Administrative point of view, and that of your users.
Crucially, add a nice logo. A logo-less Company Portal makes me (and users) sad.

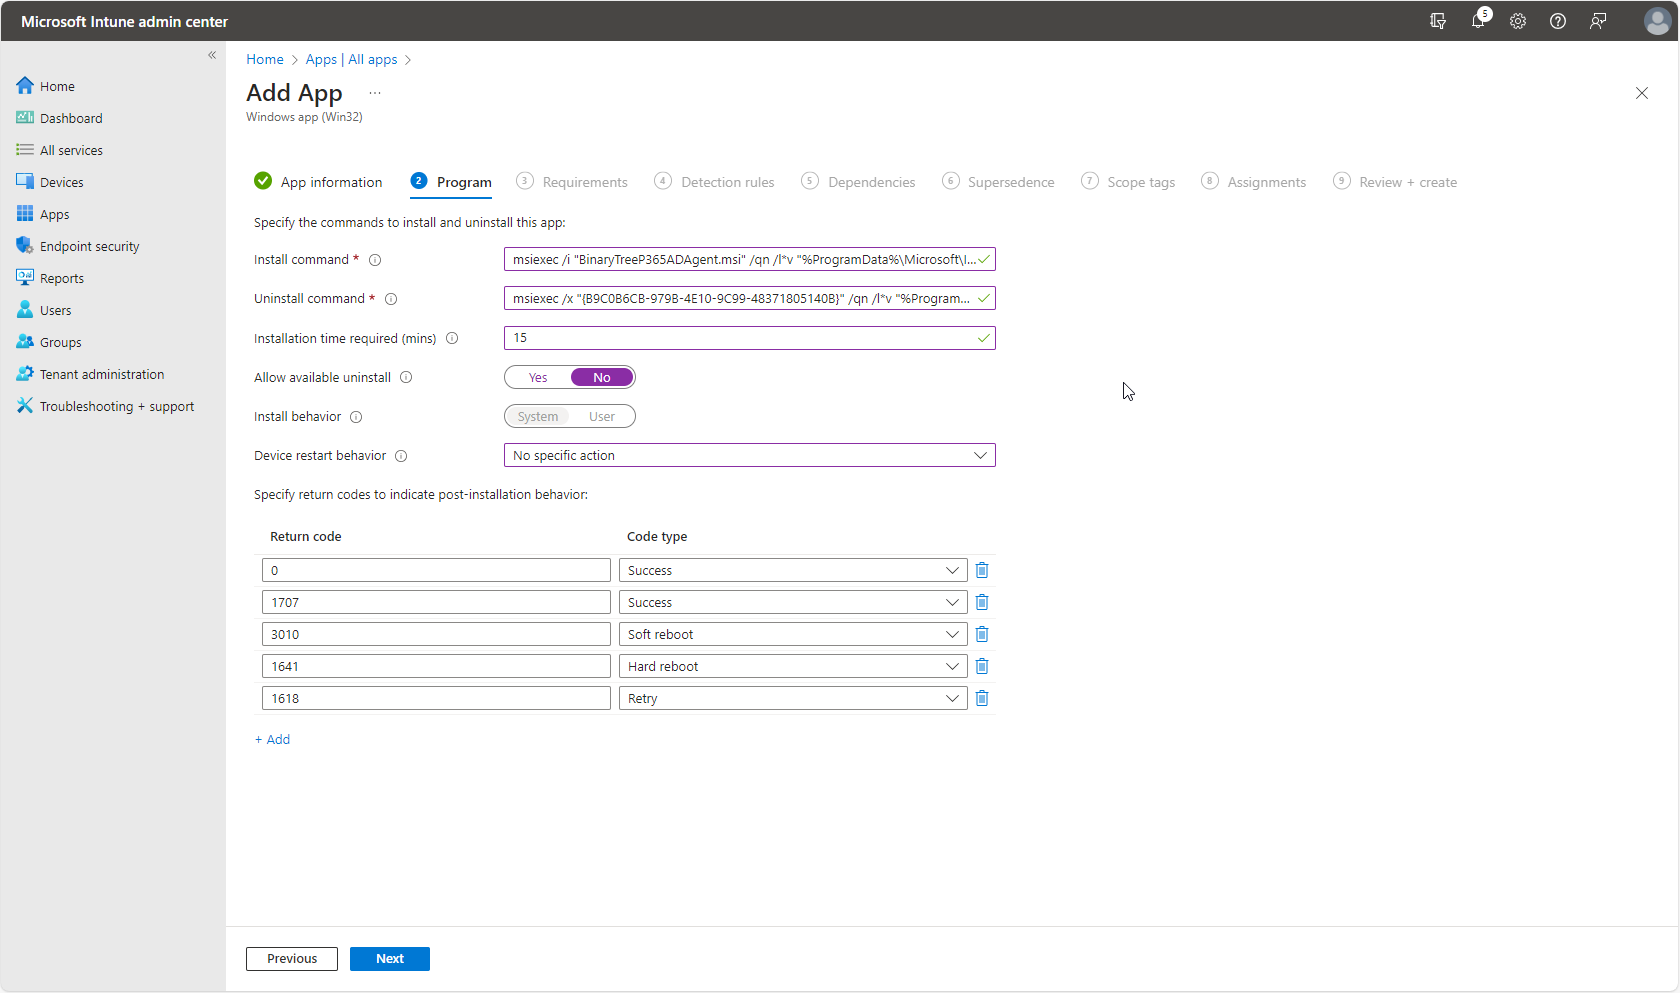
Moving on, you’re asked to enter the Installation and Uninstallation command. Until recently, the uninstall command was a bit useless, but thankfully, we can now utilise this and empower users to uninstall applications if we allow it.
The install/uninstall command is going to differ from Application to application, and is entirely dependent on the original installation file. Most of the time, I would recommend reviewing the admin/deployment guide for the product in question. Some of the time you might get lucky and find someone has already posted something about the app in question online. A smaller amount of time, you might be able to guess the commands based on your own experience.
Supply an “installation time” (this is relatively new, and a nice addition), the default is 60 minutes. Which can mean if your package isn’t correct/has a problem, you can be sat waiting for a while before it fails. Use 7zip as the example, this product normally takes 30 seconds to install. A badly malformed installation package, could see you sat around for a while. Be sensible when using this, don’t cut it too close for comfort, ensure you’re allowing enough time, and think about older devices where installations could take slightly longer.
Once you’ve entered all the details you require, move on…
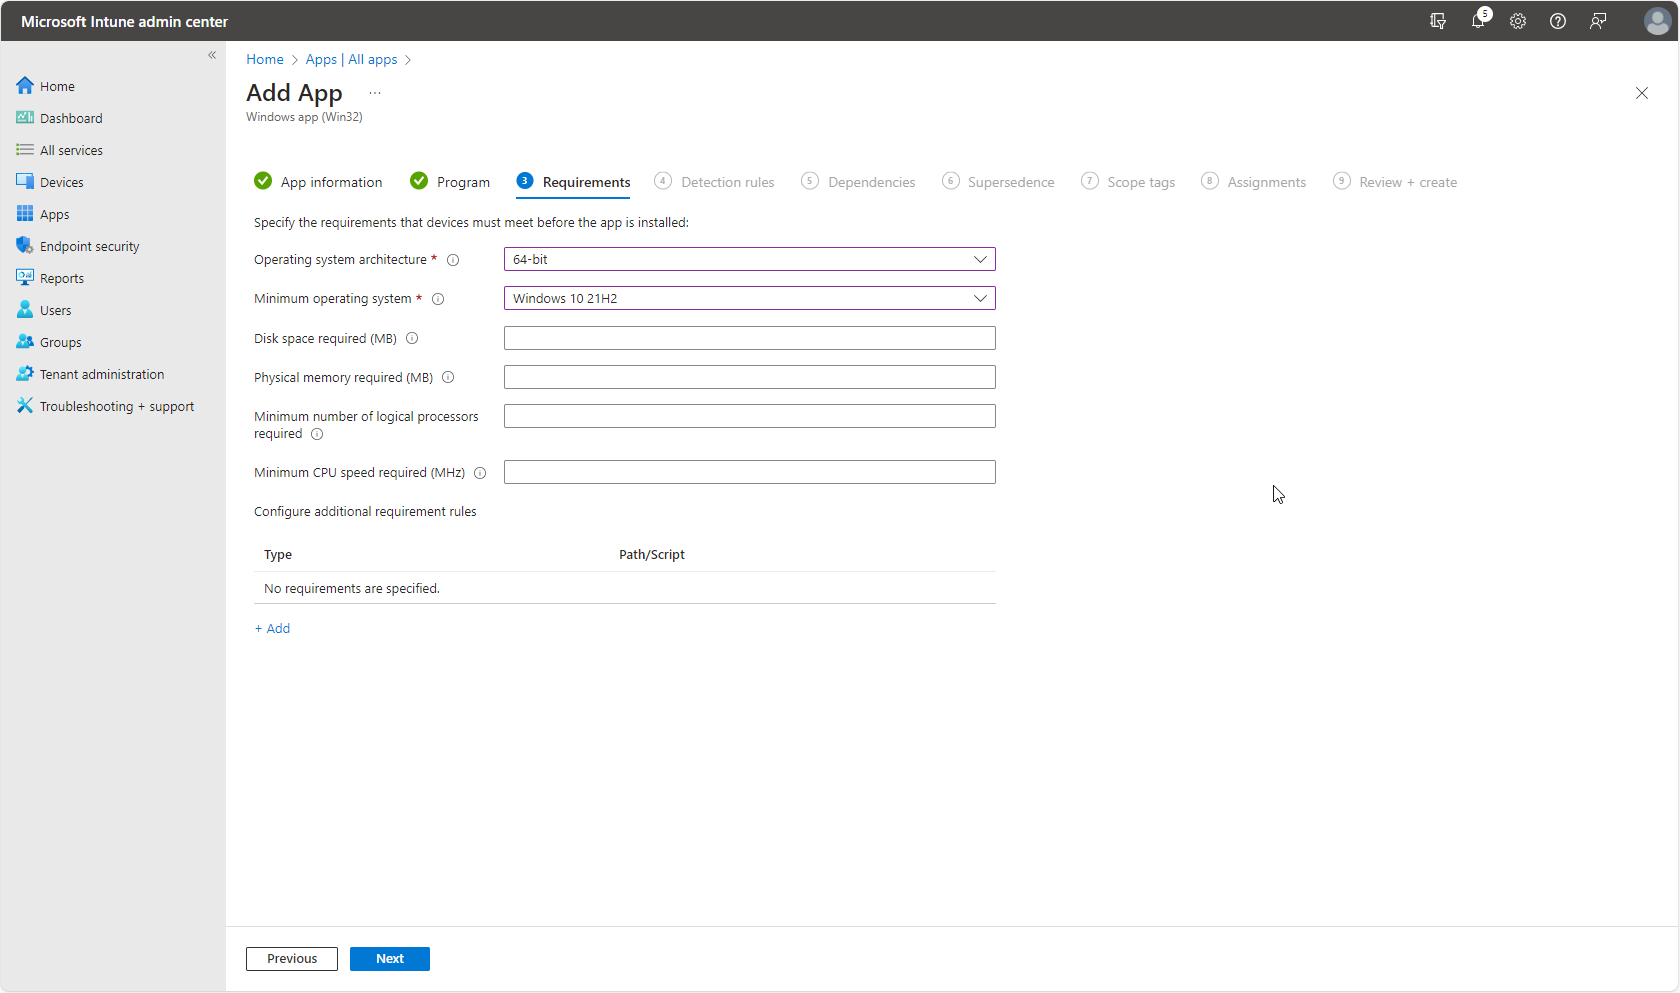
On the next page, we need to define the requirements. By default these days, I just go with 64bit and the current version of Windows -2/or the last version of Windows currently under support.
You can go to town with the Requirements, but the more you populate, the more you increase the chance of the application not hitting all the intended devices.
On the next page, we’re asked to configure the Detection method. Now this is really important, and also, one of the main reasons for utilising Win32 application packages.
We can either Manually configure the detection rules, or use a detection script.
When manually defining the rules, we have the option to check for a specific File or Folder, check for the presence of an MSI GUID or search within the Registry. You can use a combination of File/Folder, MSI and Registry, but ALL values supplied are linked with an AND so they must ALL be True to pass detection. So don’t over complicate things!
A much better way, is to utilise a script, because within the script you can use any kind of logic you wish. But not everyone has the ability to knock something together…
Ensuring the application is detected is vital to the success of the deployment.

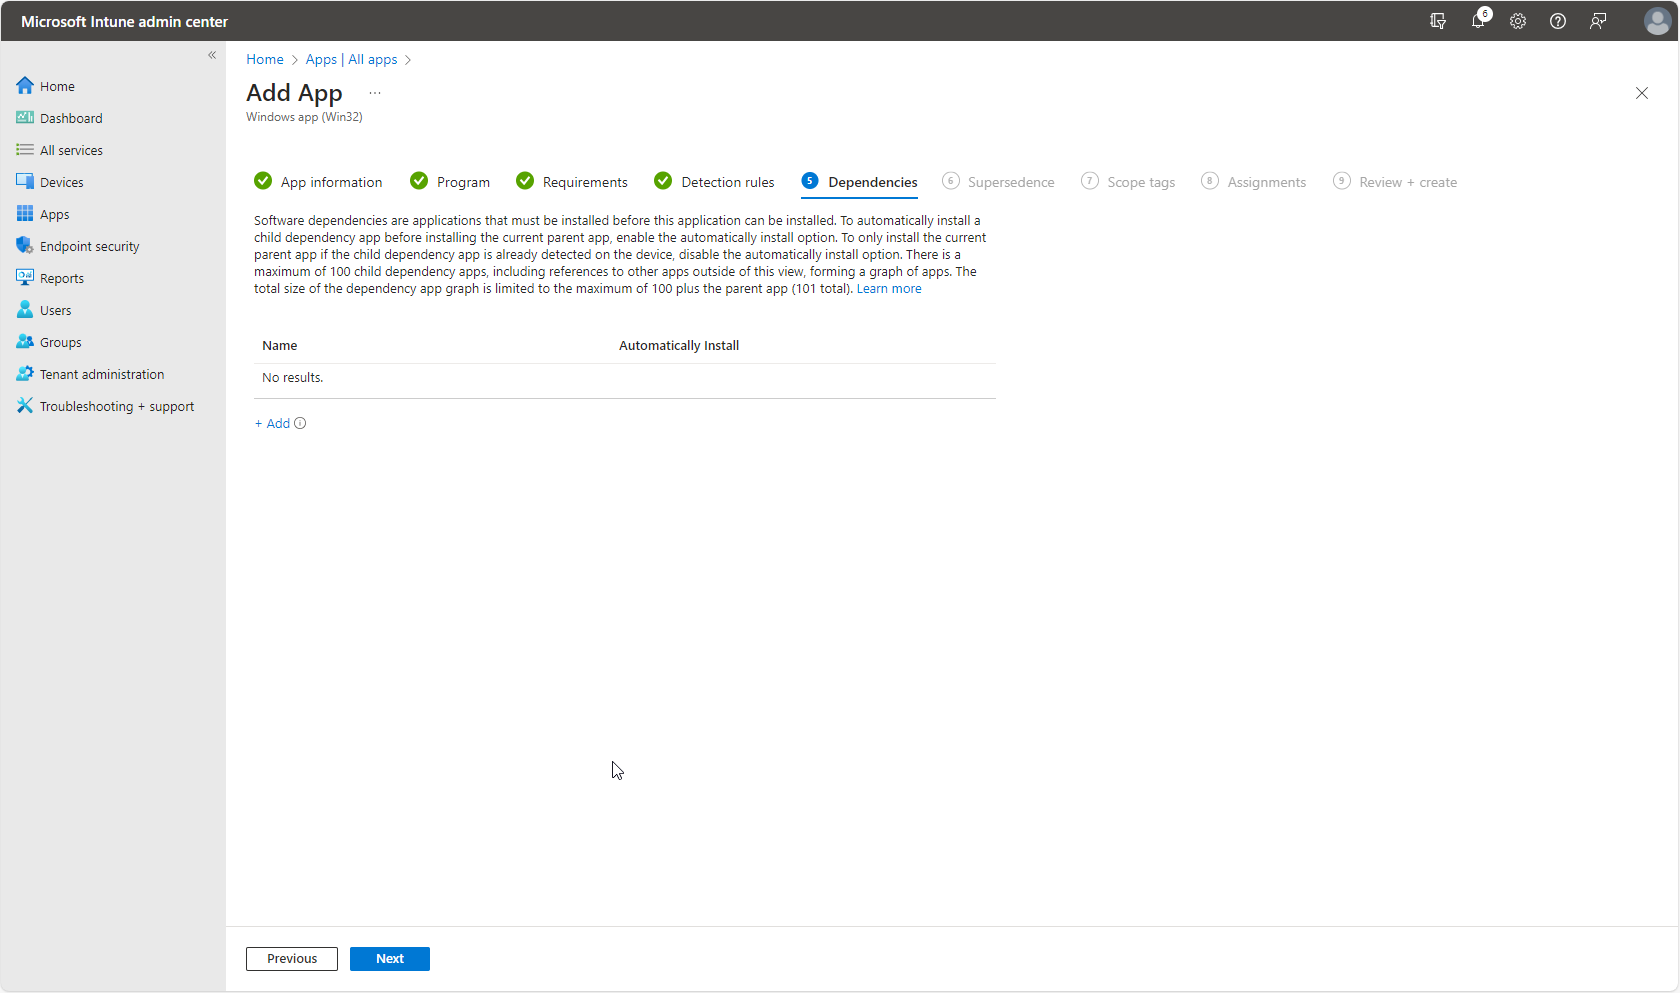
So, you’ve configured your detection method. What next? Next we have dependencies…
Does the Application you’re about to distribute contain any pre-req installations, such as a VC++ redistributable, a specific version of……… Java, or a .NET Framework? If so, you would package the pre-reqs up, just like another App, and then you would link them here. In order for “the app with the dependencies to install”, the dependencies must be present on the device. If they’re not, you get the option to Automatically Install them alongside this particular app.
A useful feature brought over from SCCM days, but not something I’ve seen massively used. Handy for ensuring things like Excel are installed before you deploy an Addon though, for example!
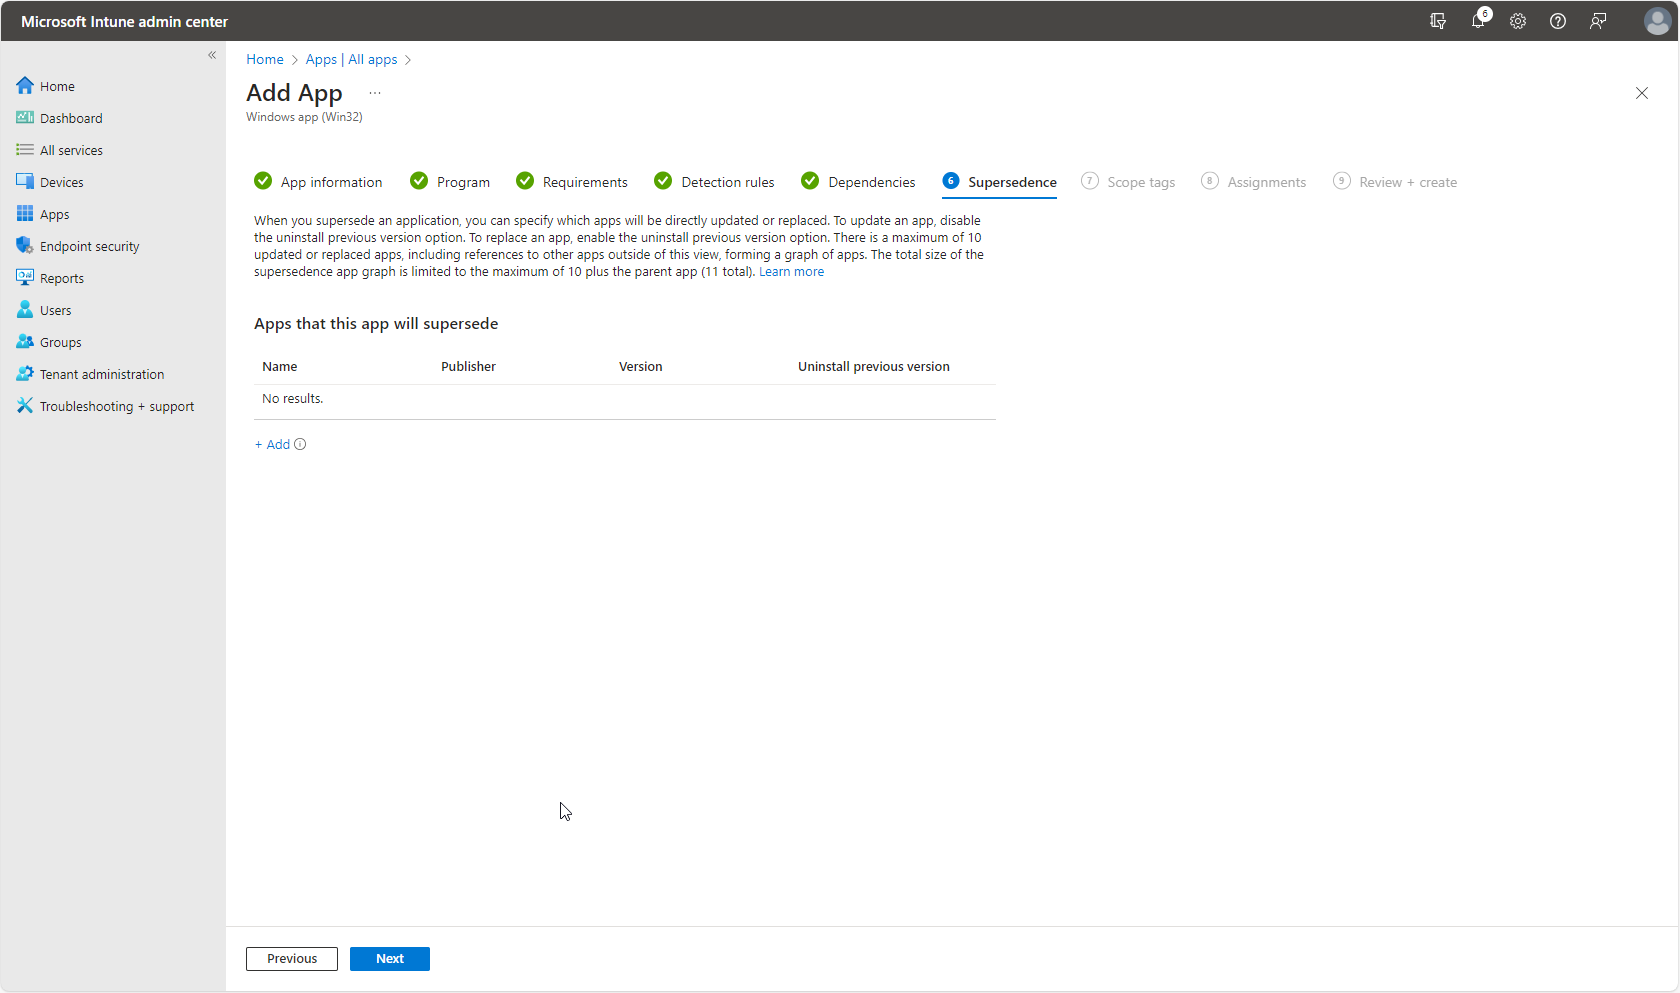
Next up we have Supercedence. Is this particular Application that you’re about to push a new version, say Version 4 of “ApplicationName”… Would you like this version to replace Version 3 maybe? If so, that is achieved here… again, referencing the existing V3 package…
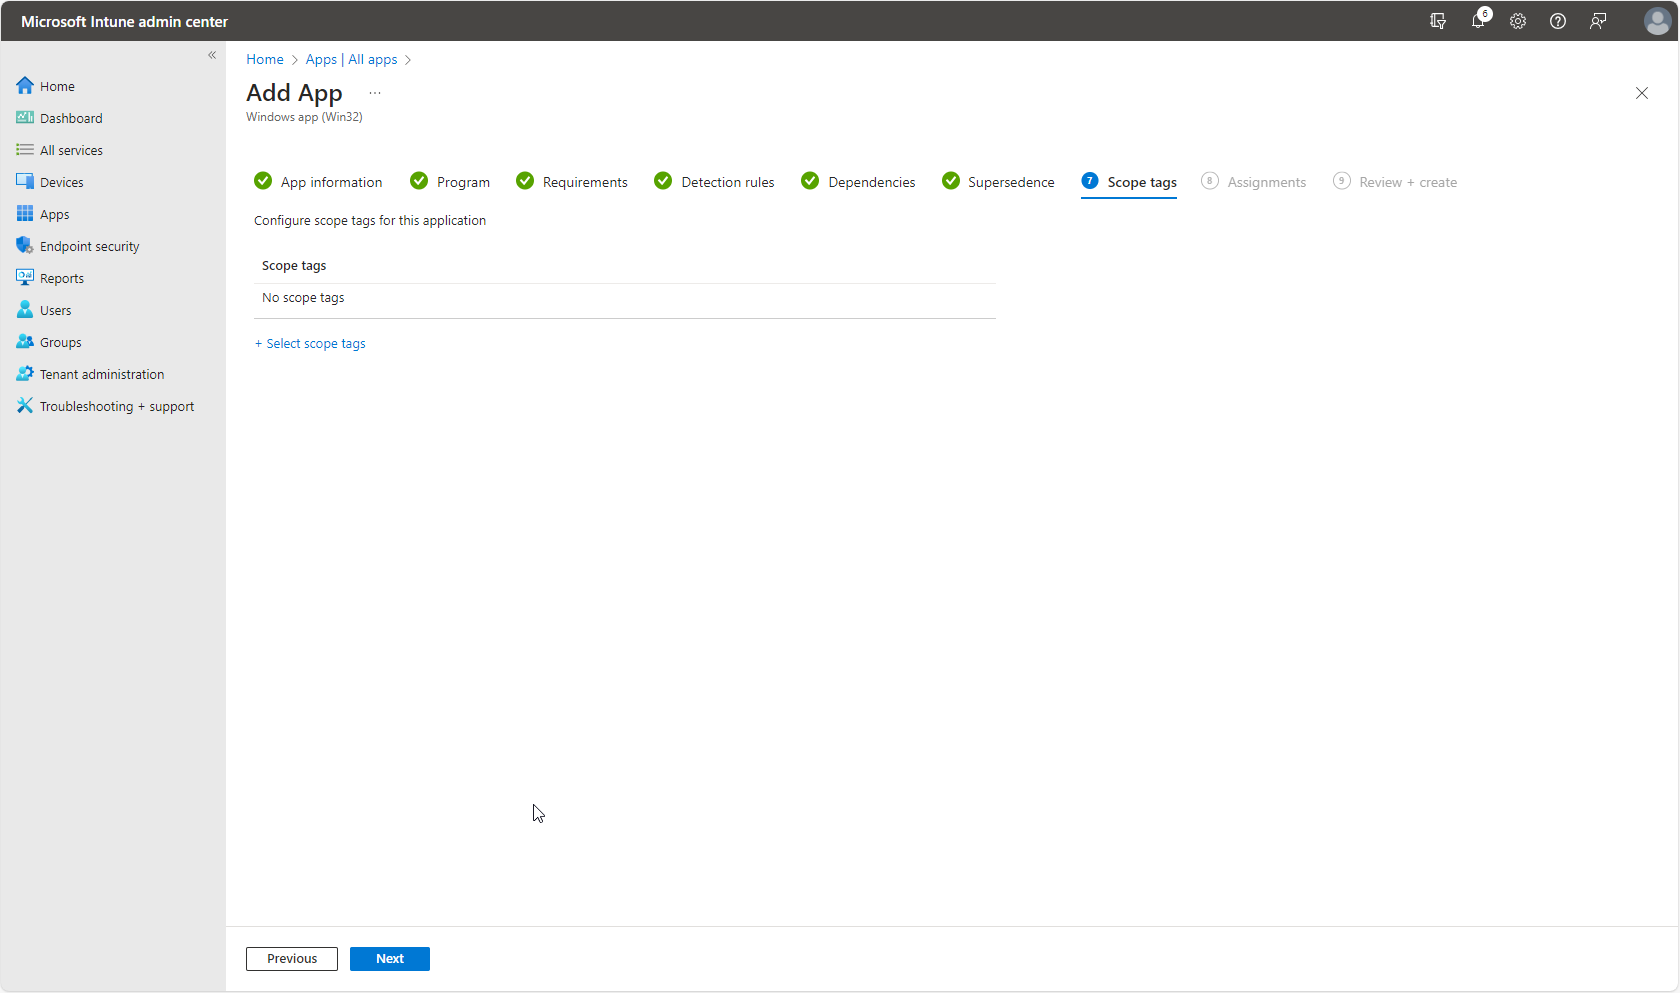
After Supecedence comes the usual stuff… Scope Tags. You’ll either have them, or you won’t. Either way, you’ll know what to do here.
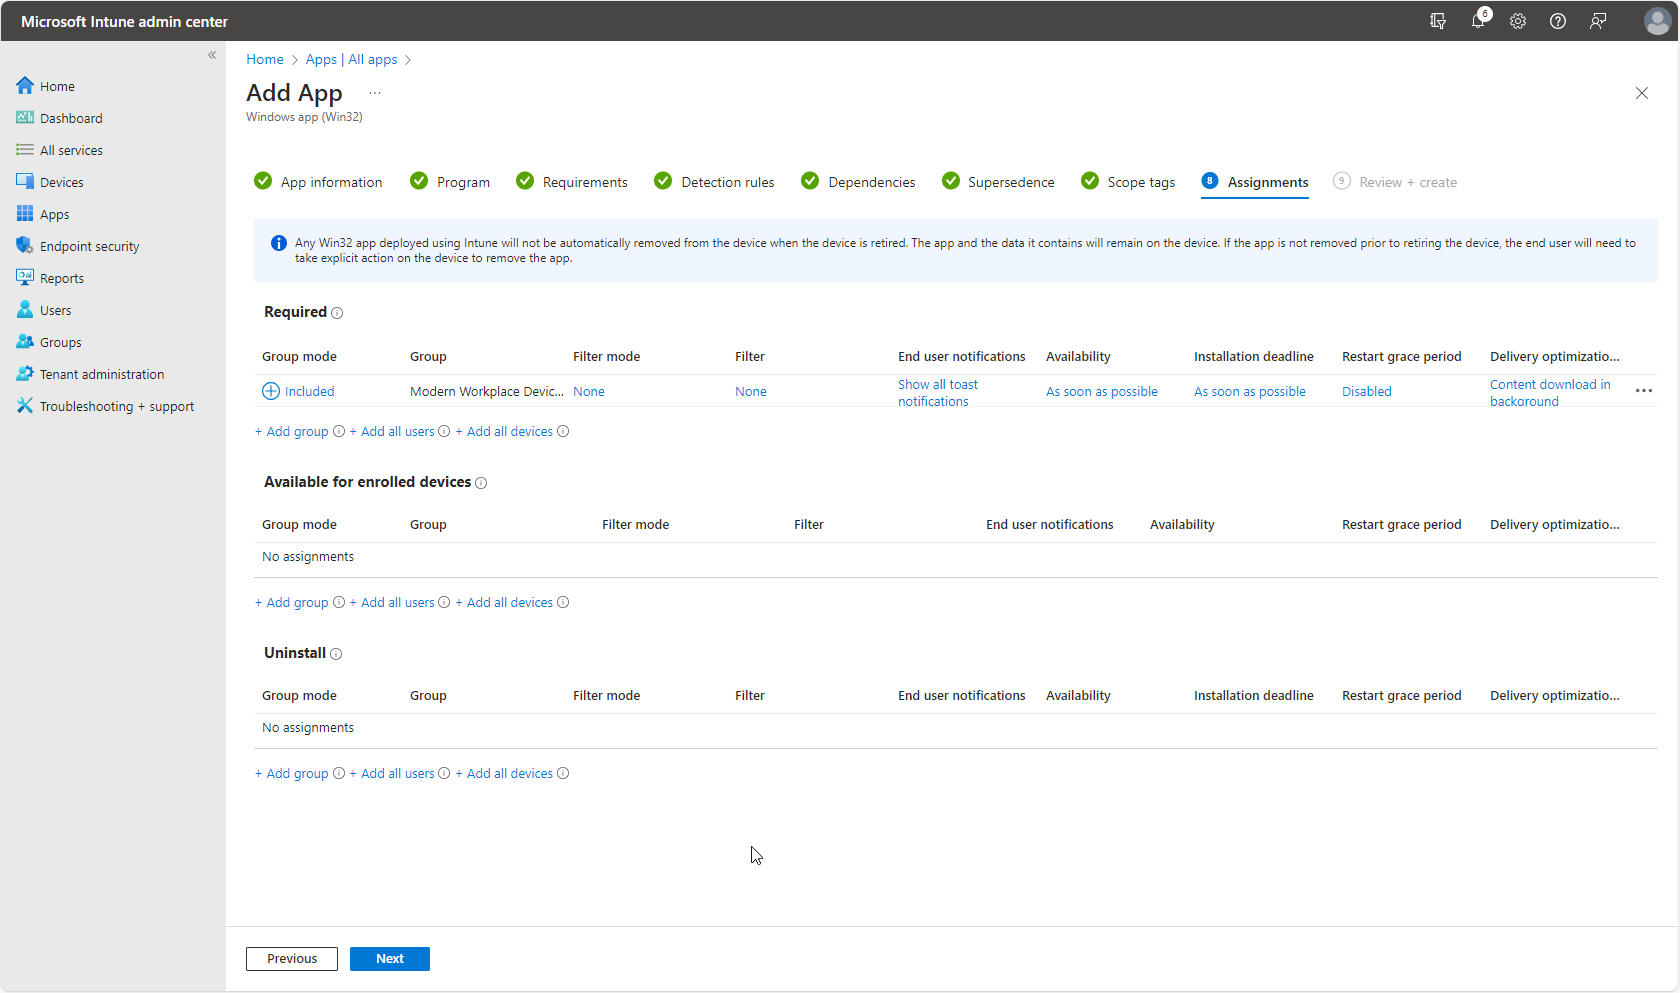
And finally… the all important config, well, after everything else. Assignments. The beautiful application that you are about to publish to Intune will do nothing at all without being assigned.
Assignments tell the users/devices, that a specific Application (or configuration/setting/policy) is destined for them.
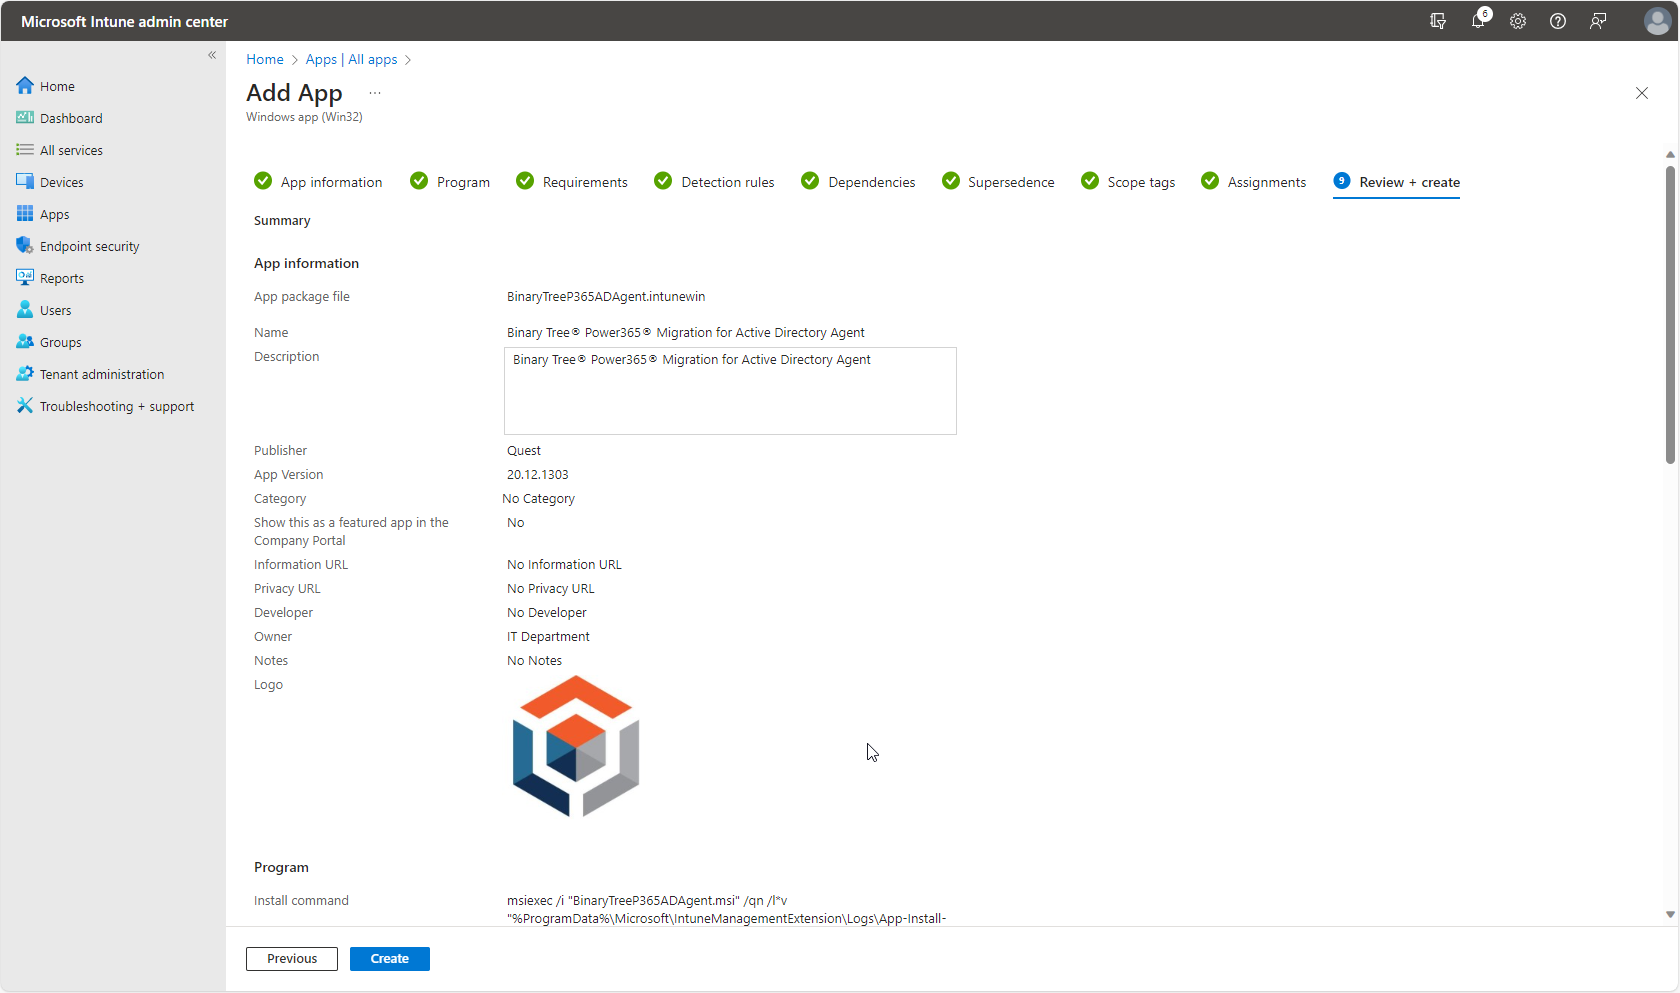
Once you’ve decided who’s getting it… well, that’s it. Click Create. The .intunewin will then make its way up to the cloud, so depending on the size of the actual .intunewin file, and the speed of your connection, its hard to say how long this will take…
Once done, the application should be visible in the Apps > All Apps list, and eventually, it should start to land with users, install to devices or show up in Company Portal depending on how you assigned it!
Now just another few hundred applications to do……………..
Leave a Reply