For the third time in as many weeks I’ve come across folks needing or wanting to deploy custom/branded/corporate background images to Microsoft Teams… It used to be simple, but now in order to utilise native methods, your users need to have a Teams Premium license.
I first had a need for this personally a few weeks ago, and since then, two clients I’ve worked with have had the same request. Three requests in three weeks made me think it was probably worth scribbling something down to help others, so here we are.
Previously, with old old Teams, you could drop background images in a specific directory, and they’d appear for selection. Easy peasy, but with “new” (now old) Teams, backgrounds require a few things to be “compatible”. They need to conform to specific resolution (sizing) and they need to have a filename which contains a GUID. When you manually upload an image through the Teams console, this is handled for you. Likewise, when using the Teams Admin Console to deploy images, this too is handled for you. But we’re assuming we don’t have the licenses to deploy en-masse, and we definitely don’t want thousands of users to be manually uploading a heap of images.
So, how might we do it, without the prerequisite of a Teams Premium license? Well, there’s always a million and one ways to achieve “the outcome”, and this outcome is no different. Of course, PowerShell will help here.
I’ve cobbled together a series of functions, commands, and modules to generate a .intunewin file which you can upload into Intune for deployment to your environment. The script is provided with no warranties and no support.
The script will;
- Check to see if the ResizeImageModule is present, if not, Install it
- Prompt you to define a path in which you have your custom backgrounds located
- Ensure this folder is empty, apart from the .jpg’s you wish to push out.
- Note: The script will create an “Intune” subfolder within this path, in which the materials for deployment will be created.
- Prompt you to supply a description for the Image, this is the “Title” Teams will display when hovering over the image to select it for use.
The script will then perform a few checks, download the Win32App Creator utility and wrap everything up into a .intunewin file for you to upload to Intune for deployment.
How to
First of all, create yourself a working directory, on a PC that isn’t restricted in the scripts it can execute and files it can download. Whilst the script isn’t doing anything untoward, if you’re unable to launch it due to execution policy restrictions, can’t download the Win32 App Wrapper or don’t have permission to write to directories, you’re going to struggle.
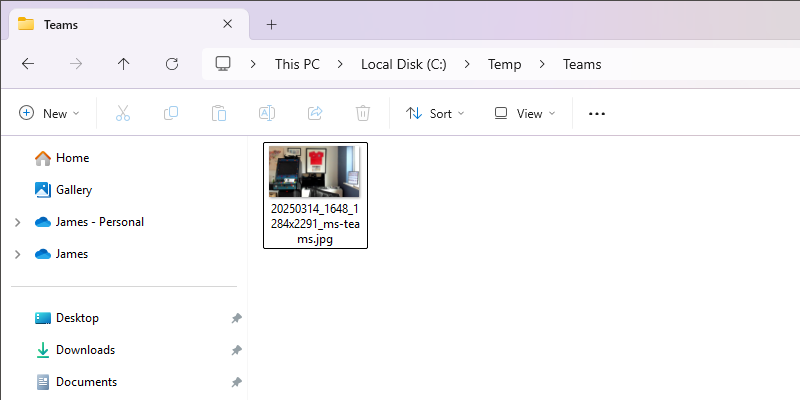
In this example we create c:\Temp\Teams – ensure your .jpg files are added here.
Then head over to GitHub and download the script; Create-MSTeamsBackgrounds.ps1 at main · jamesvincent, save this into c:\Temp or somewhere outside of this working directory you have created.
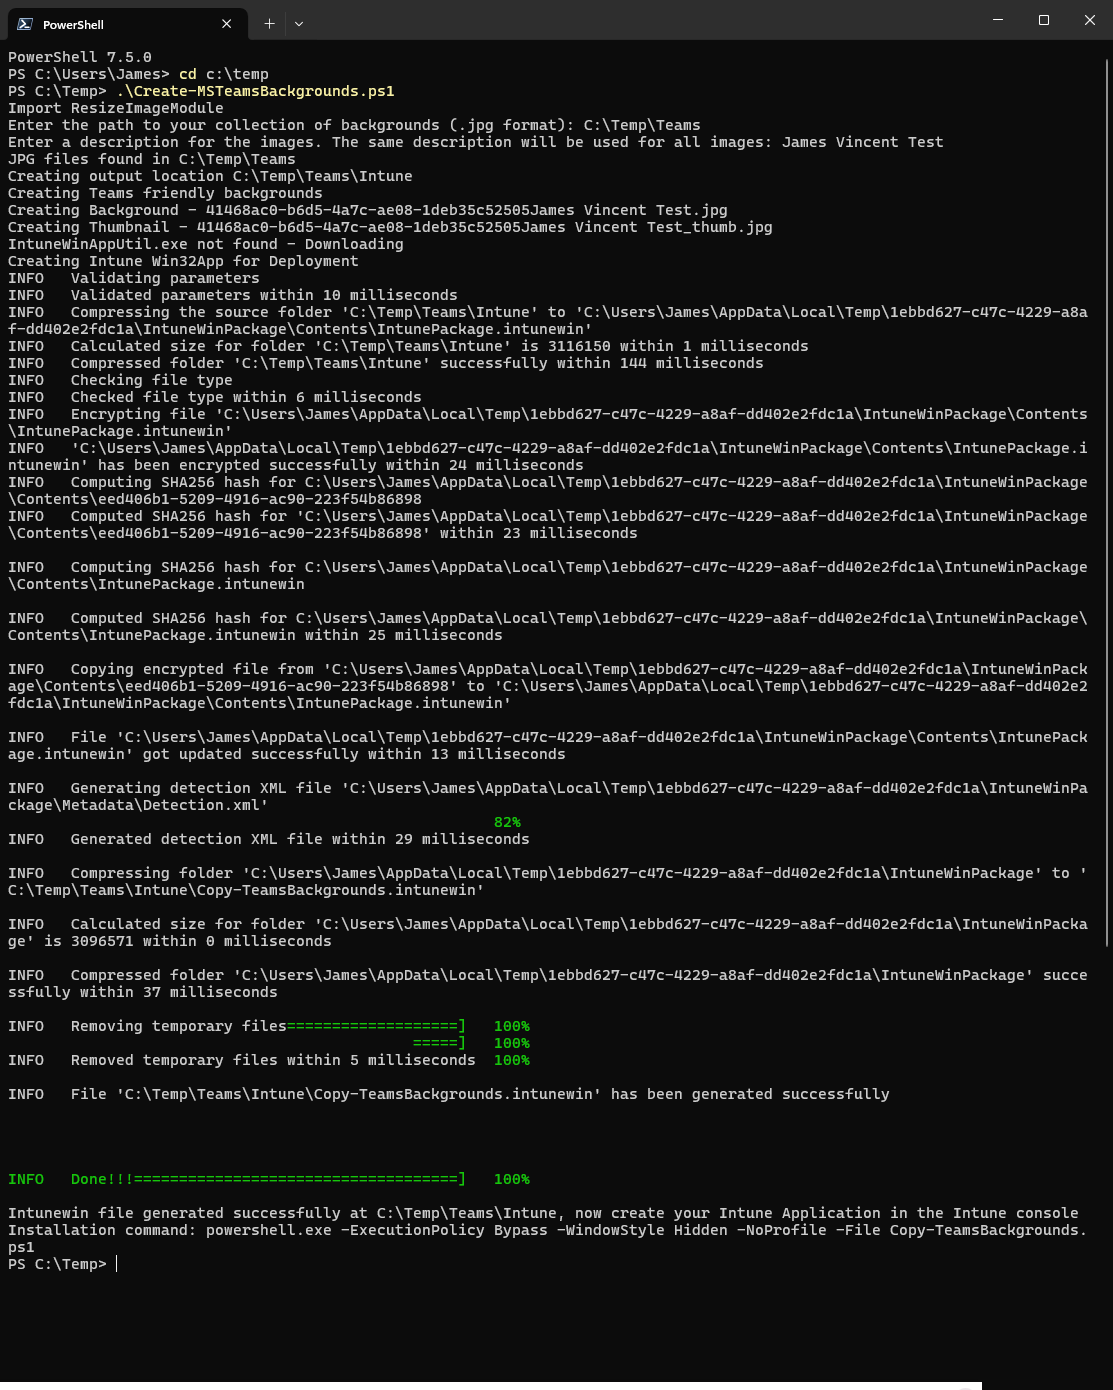
Open PowerShell and execute the script. Accept any prompts relating to the ResizeImageModule needing to be installed, enter the path to your freshly created working directory (C:\Temp\Teams), and provide a description for the images (James Vincent Test). Then sit back and wait for ~60 seconds.
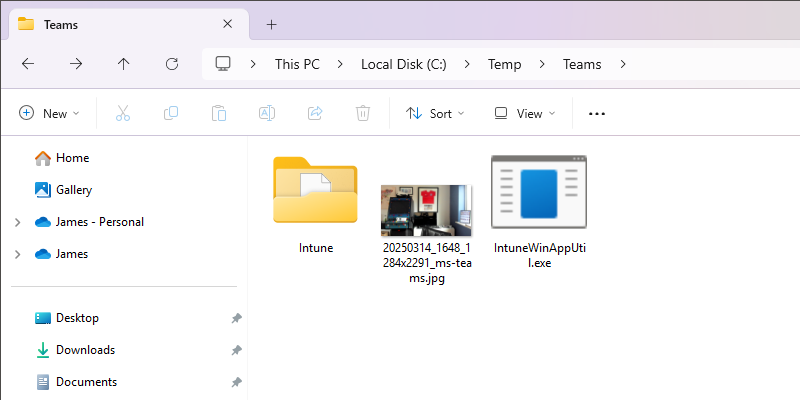
As long as we see a bunch of success messages in the resulting script, then if you check the working directory now, you should see that in the root of the directory, we have the Win32App Wrapper and a new “Intune” subfolder.
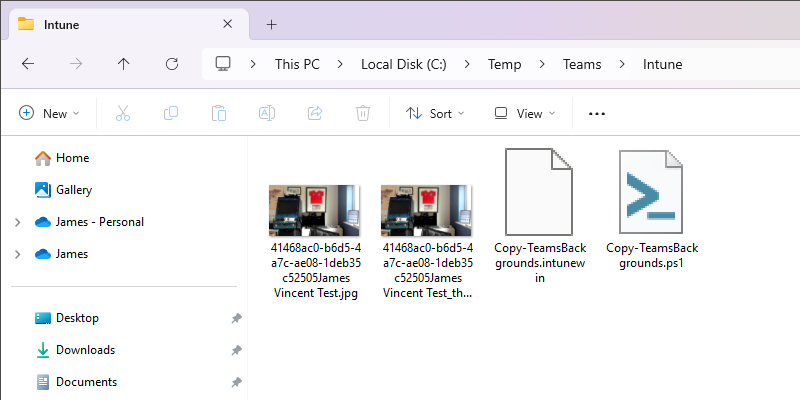
The “Intune” subfolder should contain all the collateral you need to proceed with mass deployment. In here we should find the correctly resized and image files. A newly created .ps1 file which we reference in our Intune installation command, and the necessary .intunewin file, which is effectively a zip file containing the images, and the .ps1 file.
So all we need to do from here is log into Intune, and create a Win32 Application for deployment. What and how this is, is covered here — Publish and Deploy a Win32 Application to Microsoft Intune – James Vincent
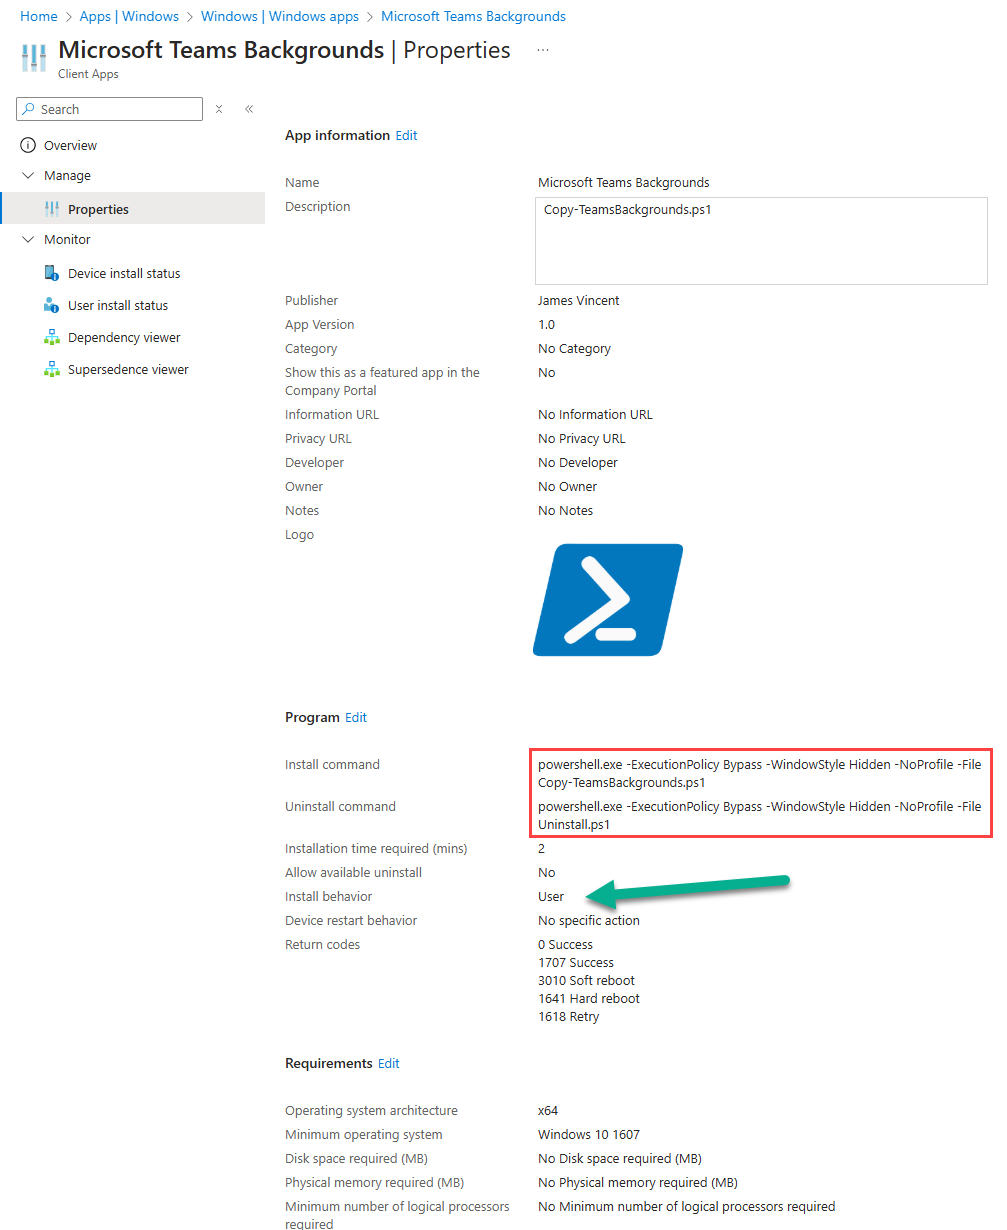
This is a snapshot of what my Intune app looks like. Note, the Install behaviour is set to User.
| Install parameters | |
|---|---|
| Install Command | powershell.exe -ExecutionPolicy Bypass -NoProfile -WindowStyle Hidden -File Copy-TeamsBackgrounds.ps1 |
| Uninstall Command | powershell.exe -ExecutionPolicy Bypass -NoProfile -WindowStyle Hidden -File Uninstall.ps1 |
Note: Uninstall.ps1 doesn’t exist, but you could script something to remove the generated files from the %LocalAppData%\Packages\MSTeams_8wekyb3d8bbwe\LocalCache\Microsoft\MSTeams\Backgrounds\Uploads folder if you really wanted.
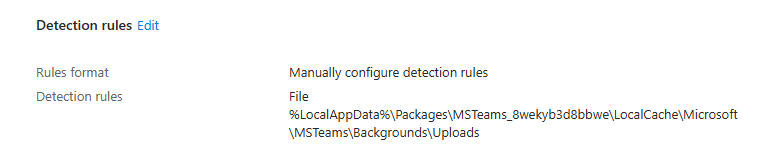
For the detection method, we’re simply checking the existence of one or many of the generated image files.

| Rule Type | File |
|---|---|
| Path | %LocalAppData%\Packages\MSTeams_8wekyb3d8bbwe\LocalCache\Microsoft\MSTeams\Backgrounds\Uploads |
| File or Folder | <one of your generated .jpg files from the Intune subfolder> |
| Detection Method | File or Folder exists |
| Associated with a 32-bit app? | No |
With the Intune application created, assign it as you see fit. The recommendation here would be to test it first, so in my test environment I published as Available to a select group of users. That way, I could hop on a test device and self-serve it from within Company Portal.
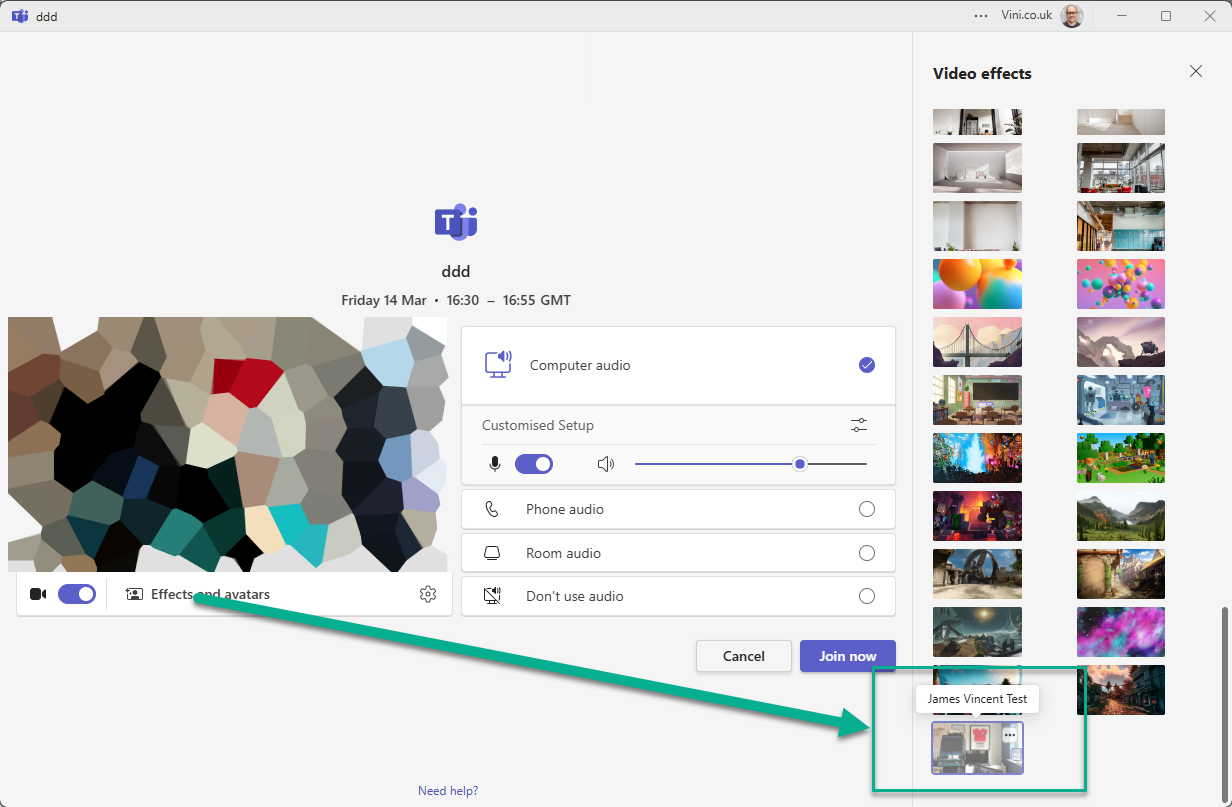
This was the result.

The simply open Teams and check your Custom Backgrounds…
All you need to do now, is issue your users with a set of instructions on how to apply the deployed backgrounds.
Happy days.
Leave a Reply